Your favorite restaurant recipes, recreated at home — tested and easy to follow.


The onion gets all the attention, but I’d argue the sauce is doing more work. That pale orange dip sitting next to Outback’s Bloomin’ Onion is what turns a fried onion into something people order specifically to eat again, and it’s why so many home versions of this appetizer fall flat — the onion comes out crispy, but the sauce tastes like plain fry sauce with a little heat dumped in.
I’ve made this sauce more times than I can count, mostly because my first few attempts tasted close but not right — too sharp, too thin, missing that rounded, slightly sweet edge the real thing has. The dish itself has been on Outback’s menu since the restaurant’s early days, and the chain still describes its dip as a “spicy signature bloom sauce” built to go with the hand-carved, deep-fried onion. That’s the flavor target: creamy first, tangy second, with horseradish and paprika trailing behind, not leading.
This version gets you there with a short ingredient list and one step most people skip — resting the sauce before serving. If you’re also working through other mayo-based copycat dips, my Cane’s Sauce recipe uses a similar base logic, just built around a different flavor profile.
Why This Copycat Works
- Built on the same mayo-ketchup-horseradish base that shows up across every credible copycat attempt of this sauce
- Takes 5 minutes of active work — the rest happens in your fridge
- Smoked paprika and cayenne are separated out so you can control heat without losing creaminess
- The hardest part isn’t the mixing, it’s having the patience to let it rest before you taste-test it
Key Ingredients & Substitutions
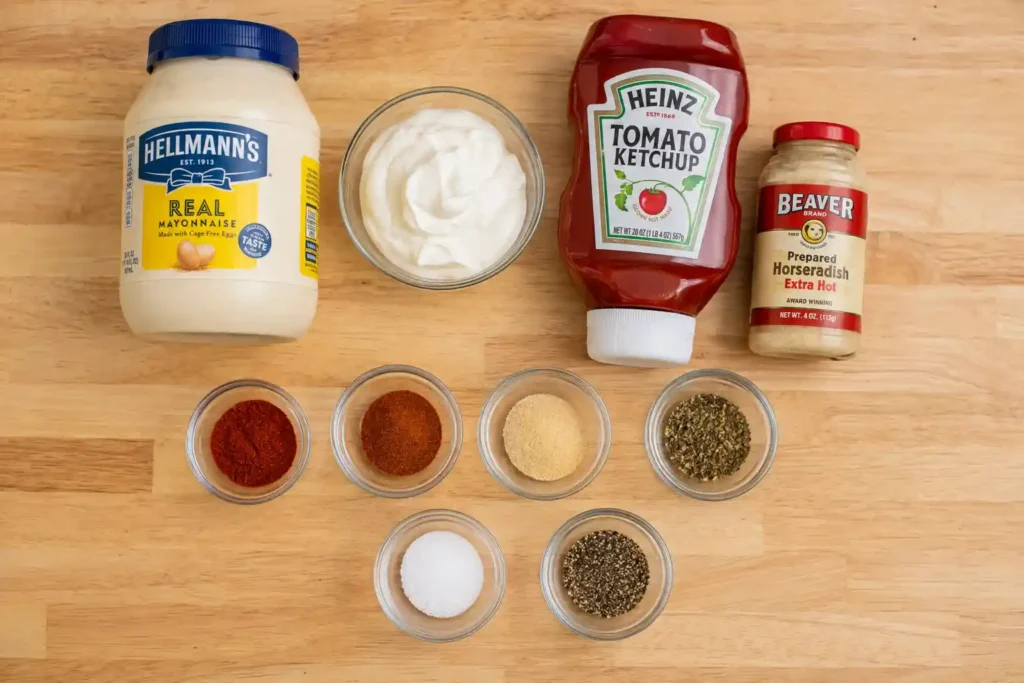
This sauce only has a handful of moving parts, but each one is pulling specific weight. Get the ratio wrong on any single ingredient and the whole thing tips into either bland fry sauce or straight horseradish burn.
Mayonnaise is the base and the majority of the volume — it’s what gives the sauce its body and lets everything else cling to your food instead of running off. Use a full-fat, neutral-tasting mayo; low-fat versions thin out and won’t hold the same texture once chilled.
Sour cream rounds out the mayo with a slight tang and lightens the texture so the sauce doesn’t feel heavy. If you don’t have any on hand, plain Greek yogurt works as a substitute — it’s tangier, so start with a little less than the recipe calls for.
Ketchup brings sweetness, acidity, and the light orange-red color that makes this sauce visually distinct from plain horseradish mayo. Skip generic “tomato sauce” substitutes; they lack the vinegar and sugar balance that ketchup has already dialed in.
Prepared horseradish is the ingredient that actually makes this the Bloomin’ Onion sauce and not just spicy mayo — it’s usually sold in small jars in the refrigerated condiment section near the mustard and pickles. Prepared horseradish (already mixed with vinegar) is different from horseradish sauce (which has mayo already blended in) — you want the prepared kind here so you control the ratio yourself. If you can’t find it, a smaller amount of hot horseradish mustard gets you partway there, though the flavor shifts sweeter and less sharp.
Smoked paprika adds color and a mild smokiness that plain paprika doesn’t have. Regular paprika works in a pinch, but the sauce loses some depth.
Cayenne pepper is your heat control. This is the one ingredient I’d tell you to adjust before anything else, since tolerance for heat varies more than any other variable in this recipe.
Garlic powder, dried oregano, salt, and black pepper round out the background seasoning. These are easy to have on hand already, and small variations here won’t break the recipe the way messing with the mayo-to-ketchup ratio will.
How to Make Bloomin’ Onion Sauce at Home
This is a no-cook sauce, so the “cooking” is really just measuring, whisking, and waiting. Active time is about 5 minutes; the part that actually determines how close you get to the restaurant flavor is the 30 minutes to a few hours the sauce spends chilling afterward, which lets the horseradish mellow and the flavors blend instead of tasting like separate ingredients stirred together.
Step 1: Build the Creamy Base
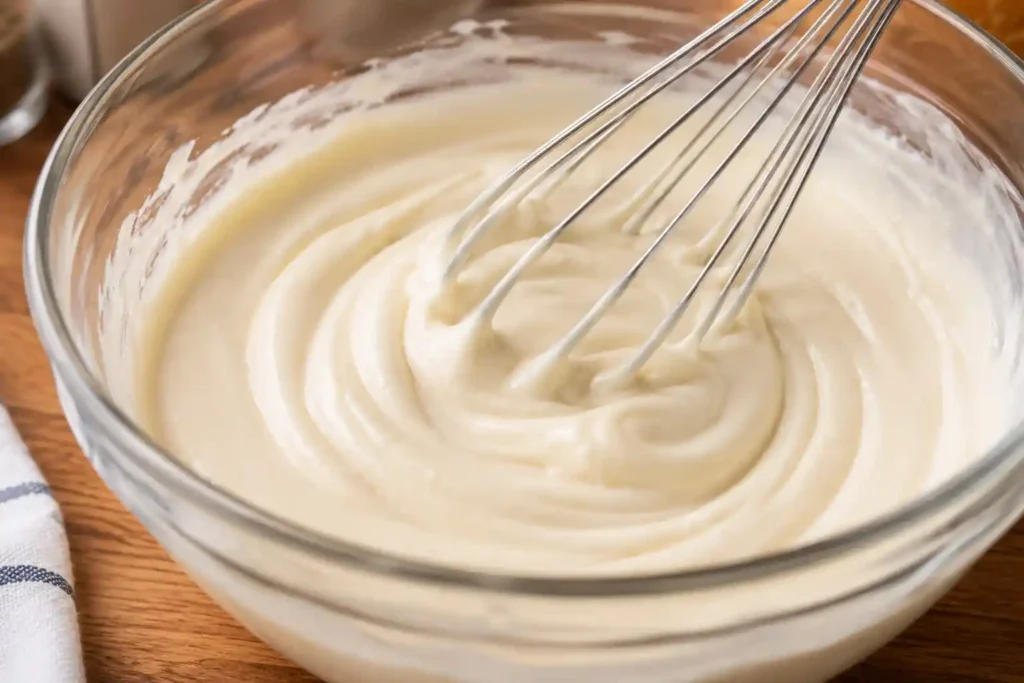
In a medium bowl, add 1 cup mayonnaise and 2 tablespoons sour cream. Whisk for about 20 seconds until the two are fully combined and the texture is smooth with no streaks. Starting with just these two keeps you from over-mixing once the wetter ingredients go in.
Step 2: Add the Ketchup and Horseradish
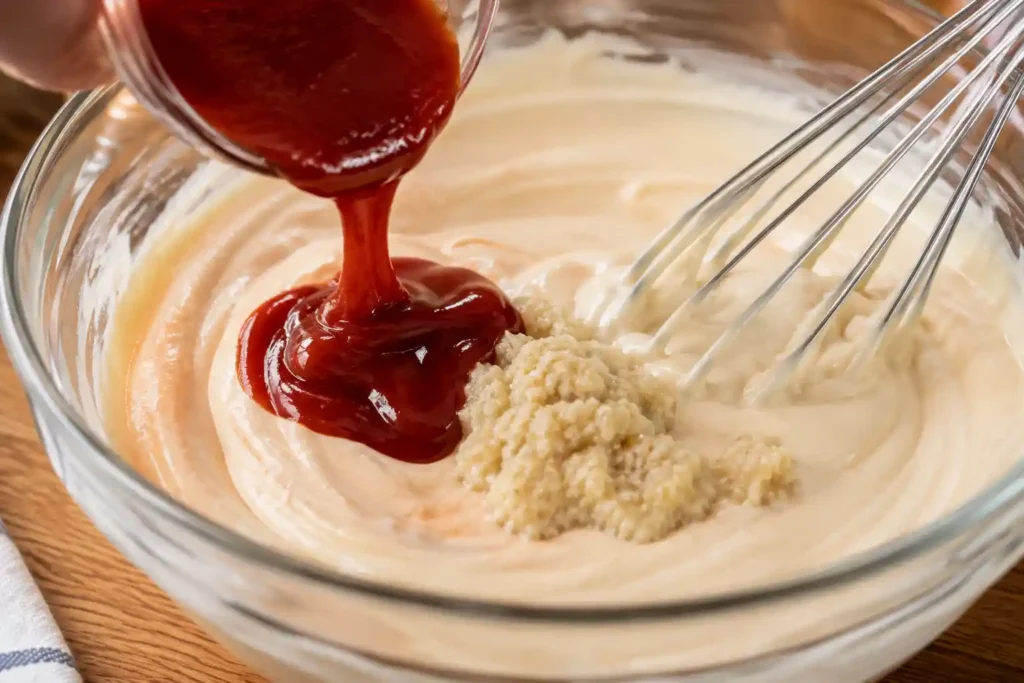
Add 3 tablespoons ketchup and 2 tablespoons prepared horseradish to the bowl. Whisk again until the color turns an even, pale salmon-orange with no visible ketchup streaks — this usually takes 30 to 45 seconds. If your horseradish is on the mild side, you can bump it up by a half-teaspoon at this stage before moving on to the dry seasoning.
Step 3: Season the Sauce
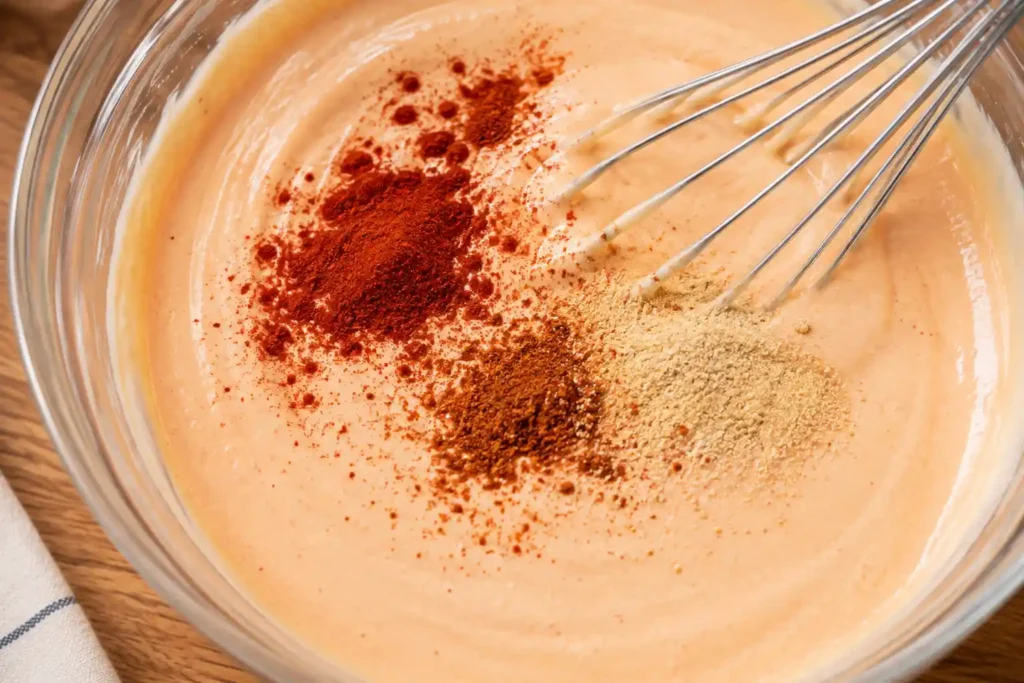
Add 1 teaspoon smoked paprika, ½ teaspoon cayenne pepper, ½ teaspoon garlic powder, ¼ teaspoon dried oregano, ½ teaspoon kosher salt, and ¼ teaspoon black pepper. Whisk for a full 30 to 60 seconds — this is longer than it feels like you need, but it’s what breaks up any small clumps of paprika or garlic powder and gets the seasoning evenly distributed instead of sitting in pockets.
Step 4: Chill and Let It Rest
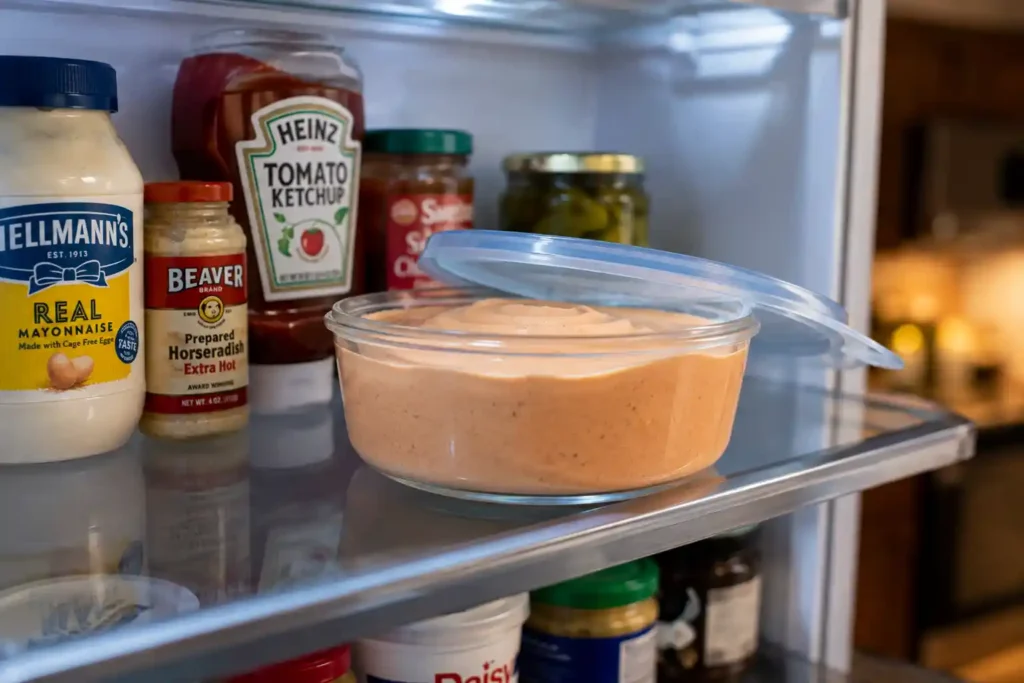
Cover the bowl (or transfer the sauce to an airtight container) and refrigerate for at least 30 minutes. If you have the time, 2 to 4 hours gets you noticeably closer to the restaurant flavor — the horseradish bite softens, the paprika blooms into the fat, and the sauce stops tasting like individual ingredients.
Pro Tip: Taste the sauce right after mixing, then taste it again after it’s chilled. They will taste like two different sauces. If you judge it fresh off the whisk and decide it needs more horseradish or cayenne, you’ll likely overcorrect — the flavor gets sharper before it mellows, not the other way around.
What Makes This Sauce Different From Regular Fry Sauce
A lot of home cooks land on a version of this sauce that’s really just spicy mayo with a splash of ketchup, and it’s an easy trap to fall into because the ingredient list looks similar on paper. What separates the real thing is the horseradish-to-cayenne ratio. Horseradish gives a sharp, upfront bite that fades fast, while cayenne builds slower and lingers. Most rushed copycat versions lean hard on cayenne or hot sauce because it’s simpler to control, and end up with something that’s just hot instead of layered.
The horseradish is what makes it a bloomin’ onion sauce. Everything else just supports it.
The other detail that gets missed is texture. This isn’t a runny dip — it should be thick enough to coat a fried onion petal without sliding straight off, closer to a thick aioli than a drizzle sauce. If your version comes out thin, it’s almost always because of low-fat mayo or too much horseradish relative to the base.
Troubleshooting Common Bloomin’ Onion Sauce Problems
Even with a short ingredient list, this sauce goes wrong in a few predictable ways. Here’s what’s usually happening and how to fix it.
The sauce tastes like plain ketchup mayo. This almost always means it hasn’t rested long enough, or the horseradish measurement got skipped or reduced too much. Give it another hour in the fridge before adjusting anything — resting alone fixes this more often than adding more seasoning does.
It’s too spicy or too sharp. Stir in an extra tablespoon of mayo to dilute the heat rather than trying to add sweetness to mask it — sugar doesn’t cut horseradish or cayenne heat the way fat does.
It’s too thin to hold onto food. Add sour cream a teaspoon at a time rather than more mayo; it thickens the sauce without diluting the flavor balance you’ve already dialed in.
It separates or looks oily after a few days. This is a sign the sauce has been left out too long or is nearing the end of its fridge life — mayo-based sauces don’t recombine cleanly once they’ve split, so it’s best to make a fresh batch rather than try to rescue it.
Chef’s Note: Don’t freeze this sauce. Mayonnaise-based sauces break when frozen and thawed — you’ll end up with a separated, watery mess no amount of whisking will fix. Make it fresh or refrigerate; skip the freezer entirely.
How This Compares to the Restaurant Version
Made fresh and rested properly, this version lands very close to what you’d get at Outback — the biggest difference most people notice is a slightly cleaner, less processed flavor, since you’re controlling exactly how much horseradish and cayenne go in rather than eating a version made in bulk for consistency across thousands of locations. Homemade also comes out ahead on cost per serving, since a batch this size uses pantry staples you likely have already, versus ordering the appetizer as a side dish.
| Restaurant Version | Homemade Version | |
|---|---|---|
| Flavor | Consistent across locations, moderately spicy | Adjustable heat, slightly fresher horseradish bite |
| Texture | Thick, clings to the onion petals | Same, if made with full-fat mayo and rested |
| Cost per serving | Priced as part of the appetizer | Lower, using pantry ingredients |
| Availability | Only with dine-in or takeout order | Ready anytime, keeps about a week refrigerated |
Spice Level and Flavor Variations
Because the base is so simple, this sauce is easy to bend toward what you actually want without breaking the recipe.
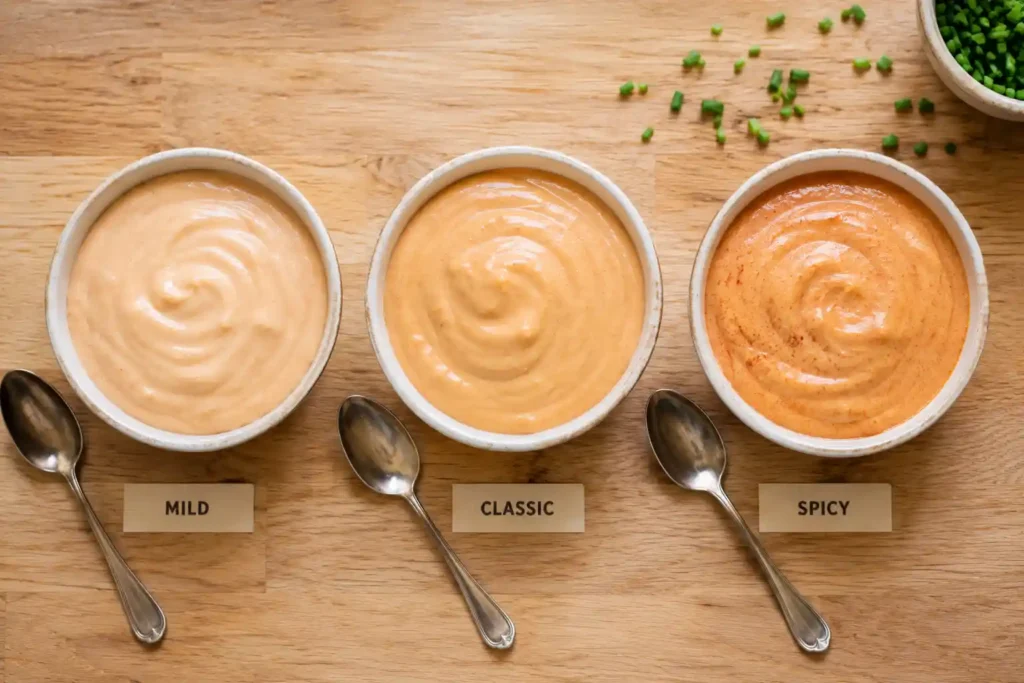
Milder version: Cut the cayenne to a pinch and reduce the horseradish to 1 tablespoon. You’ll still get the color and a light tang, just without much heat.
Spicier version: Add an extra ¼ teaspoon of cayenne, or a small dash of hot sauce, after the initial chill — taste before adding more, since the flavor keeps developing.
Dairy-free version: Swap the sour cream for a dairy-free sour cream alternative or additional dairy-free mayo. The flavor shifts slightly but the texture holds up fine.
Herb-forward version: A pinch of fresh chopped chives or parsley stirred in right before serving adds color and a little freshness that cuts through the richness — good if you’re serving this alongside something equally heavy, like Zax Sauce on the same table for dipping variety.
What to Serve This Sauce With
This sauce isn’t a one-trick condiment. Beyond the classic fried onion petals, it holds up well with sweet potato fries, regular crinkle-cut fries, fried pickles, or crispy chicken tenders, where the horseradish cuts through the breading in a way plain ranch doesn’t. It also works as a sandwich or burger spread in place of plain mayo, and a small spoonful stirred into a baked potato adds more flavor than sour cream alone. If you’re setting out a dipping spread for a game day table, pairing it alongside something milder like Arby’s Red Ranch or Wingstop Ranch gives people a spicy option and a cooler one side by side.
Equipment That Actually Matters Here
You don’t need anything specialized for this recipe — a mixing bowl and a whisk get the job done, and a fork works fine in a pinch since there’s no aeration required, just even combining. The one piece of equipment worth having is a container with a tight-fitting lid for storage; a mason jar or a squeeze bottle both work well and make it easy to portion the sauce out for dipping without dirtying extra dishes. If you’re making a larger batch to keep on hand through the week, a small immersion blender can smooth out the texture slightly, but it’s genuinely optional — whisking by hand gets you the same result with a little more elbow grease.
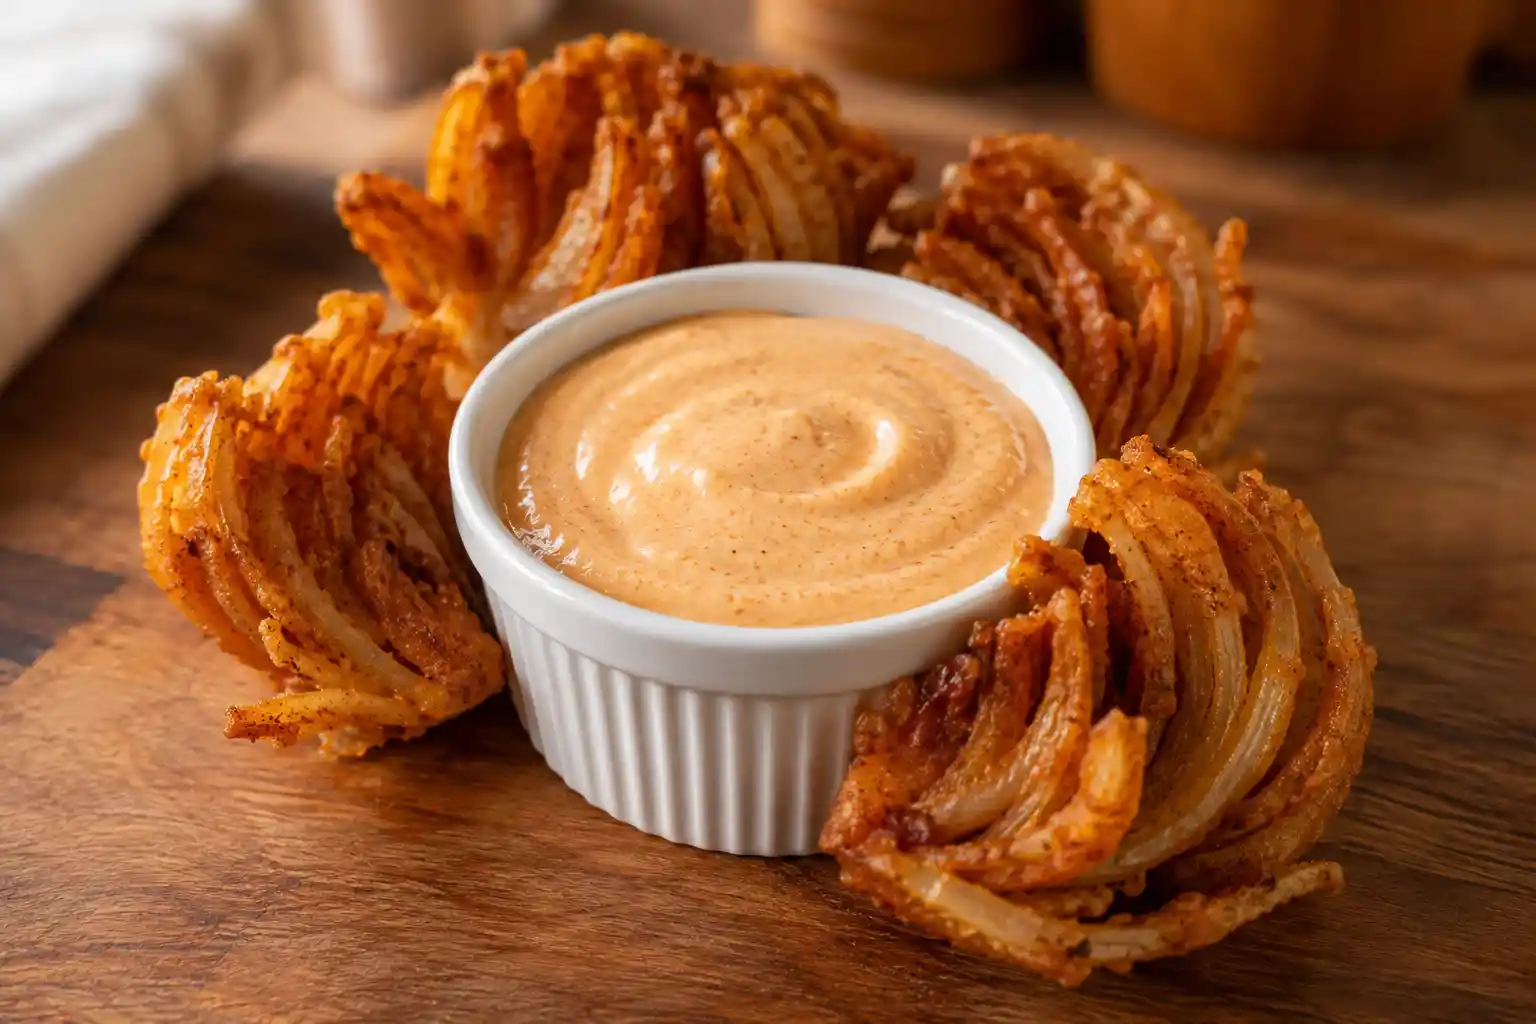

Outback Bloomin’ Onion Sauce (Copycat)
This creamy, tangy dipping sauce recreates the spicy signature dip served alongside Outback’s Bloomin’ Onion. It comes together in 5 minutes with pantry staples and tastes best after resting in the fridge, where the horseradish mellows and the flavors fully blend.
Ingredients
Equipment
Method
- In a medium bowl, whisk together the mayonnaise and sour cream until smooth.
- Add the ketchup and prepared horseradish, then whisk until the mixture is an even pale orange with no streaks.
- Add the smoked paprika, cayenne, garlic powder, oregano, salt, and black pepper. Whisk for 30 to 60 seconds until fully incorporated.
- Cover and refrigerate for at least 30 minutes, ideally 2 to 4 hours, before serving.
Video
Notes
Store in an airtight container in the refrigerator for up to 1 week.
Do not freeze — mayonnaise-based sauces separate when thawed.
For a milder sauce, reduce the horseradish and cayenne as described in the variations section above.
For a dairy-free version, substitute a dairy-free sour cream alternative.
Estimated calories: approximately 150 kcal per 2-tablespoon serving. This is an estimate based on standard ingredient values and will vary by brand.
Frequently Asked Questions
What is Outback’s Bloomin’ Onion sauce actually called?
Outback refers to it as their signature spicy bloom sauce, served alongside the Bloomin’ Onion appetizer. It’s not a separately branded product, just the restaurant’s in-house dipping sauce for the dish.
Is Bloomin’ Onion sauce the same as spicy mayo?
Not exactly. Spicy mayo usually relies on hot sauce or sriracha for heat, while Bloomin’ Onion sauce gets its kick from horseradish along with a smaller amount of cayenne, plus ketchup and paprika for color and tang. The horseradish is what gives it a sharper, more layered flavor than a basic spicy mayo.
Can I make this sauce ahead of time?
Yes, and it’s actually recommended. The sauce tastes noticeably better after resting in the fridge for at least 30 minutes, and even better after a few hours, since that time lets the horseradish mellow and the seasonings blend together.
Can I freeze bloomin onion sauce?
No, freezing isn’t recommended. This sauce is mayonnaise-based, and mayo-based sauces tend to separate and turn watery once thawed. It’s best made fresh and kept refrigerated instead.
What can I use instead of prepared horseradish?
If you can’t find prepared horseradish, a small amount of hot horseradish mustard can work in a pinch, though the flavor will lean sweeter and less sharp. Leaving it out entirely will make the sauce taste more like a basic ketchup mayo instead of the signature bloomin onion flavor.
How long does homemade bloomin onion sauce last in the fridge?
Stored in an airtight container, it keeps for about a week. Give it a quick stir before each use, since the ingredients can settle slightly over time.
Is this sauce gluten-free or dairy-free?
As written, the sauce is naturally gluten-free. It does contain dairy from the sour cream, but you can make it dairy-free by swapping in a dairy-free sour cream alternative without changing the rest of the recipe.
What else can I dip in this sauce besides fried onion?
It works well with fries, sweet potato fries, fried pickles, and chicken tenders, and it also makes a good burger or sandwich spread in place of plain mayo. A spoonful stirred into a baked potato adds flavor too.