
Your favorite restaurant recipes, recreated at home — tested and easy to follow.


There’s a reason this cake has been passed down on index cards and typed-up recipe sheets for over sixty years instead of quietly disappearing like most hotel desserts do. The Waldorf Astoria red velvet cake isn’t just “chocolate cake with red food coloring” — it’s a specific, slightly odd, genuinely delicious combination of a cocoa-buttermilk batter and a cooked vanilla icing that behaves nothing like buttercream. Most people today have only ever had red velvet cake with cream cheese frosting, which is wonderful in its own right, but it’s not what left the Waldorf.
What makes this one worth making at home isn’t nostalgia alone. The original technique — a modest 2-3 tablespoons of cocoa, a buttermilk-and-vinegar reaction, and a whipped cooked icing called ermine frosting — produces a cake that’s genuinely lighter and less sweet than the bakery-case version most of us grew up on. It also happens to be the source of one of food history’s best-known urban legends, the $100-or-so recipe scandal, which we’ll get into below.
This copycat recreates the cake the way it actually appears in the historical Waldorf Astoria and Hilton-published versions, including the lesser-known fact that there are really two “original” recipes still circulating — one built on cocoa and buttermilk with ermine icing, and a newer Hilton-published version made with pureed beets and a cream cheese-mascarpone icing. We’ll walk through the classic version in full, and cover the beet version too, so you can decide which one matches the story you grew up with.
Key Ingredients & Substitutions
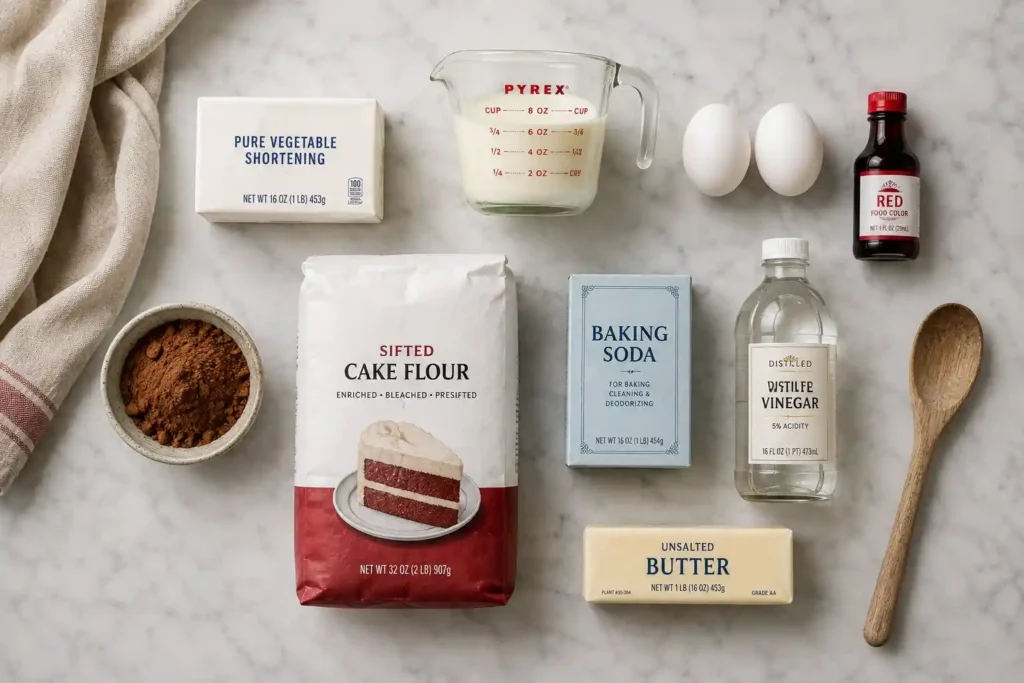
- Shortening (or butter): The historical recipe calls for solid vegetable shortening, not butter. Shortening gives the crumb a slightly different texture — a little more tender, a little less rich-tasting — than butter, which is part of why old-school red velvet doesn’t taste exactly like a modern chocolate cake. You can substitute butter 1:1 if you prefer the flavor, but expect a slightly denser, moister crumb.
- Natural (non-Dutched) cocoa powder: This is the ingredient most modern bakers get wrong. Natural cocoa is acidic; Dutch-processed cocoa is alkalized and neutral. The old-fashioned reddish tint red velvet is named for comes partly from natural cocoa reacting with the acidic buttermilk and vinegar — Dutch-process cocoa won’t give you the same reaction, so stick with natural (Hershey’s Natural Unsweetened is the standard pick).
- Buttermilk: Provides the acidity and tang that defines red velvet’s flavor. No buttermilk on hand? Stir 1 tablespoon of white vinegar or lemon juice into 1 cup of whole milk and let it sit for 10 minutes.
- White vinegar: Works with the baking soda to leaven the cake and lightens the crumb. Don’t skip it even though the amount looks small — it’s doing real chemical work, not just flavor.
- Red food coloring: Liquid food coloring (like McCormick) is the traditional choice and gives an authentic older-style red rather than a modern neon shade. Gel colors like Americolor Super Red work too, but you’ll need much less — start with about a third of the liquid amount.
- Butter extract (optional but traditional): A small, unusual addition in many original versions. It doesn’t taste like butter on its own, but rounds out the cake’s flavor. Skip it if you don’t have it; the cake will still work.
- Cake flour: Lower protein than all-purpose, giving a finer, softer crumb. If substituting all-purpose flour, use it by weight (not volume) or the cake will turn out dry — see the recipe notes for exact conversions.
- For the ermine icing — flour, whole milk, granulated sugar, unsalted butter: This cooked icing (also called boiled milk frosting or “$300 frosting”) is what the Waldorf actually served with this cake before cream cheese frosting became the modern default. It’s whipped, not too sweet, and closer to whipped cream in texture than a classic buttercream.
- If making the beet-based version instead: you’ll swap the cocoa-and-buttermilk batter for one built on melted unsweetened chocolate, vegetable oil, and pureed canned beets, iced with a cream cheese-and-mascarpone frosting folded with whipped cream — more on that below.
How to Make Waldorf Astoria Red Velvet Cake at Home
This cake comes together in two separate stages that both need patience: a fairly standard creamed cake batter, and a cooked icing that has to cool completely before it’s whipped into shape. Budget about 45 minutes of active work and at least an hour of hands-off cooling time for the icing before you can frost anything. The technique is straightforward, but it is not a “dump and mix” recipe — measuring the flour correctly and cooling the icing base fully are the two places this cake most commonly goes wrong.
Step 1: Prep Your Pans and Preheat
Preheat your oven to 350°F. Grease three 8-inch or 9-inch round cake pans and line the bottoms with parchment paper. If you only have two pans, you can bake in two batches, or use two 9-inch pans and add a few extra minutes to the bake time since the layers will be thicker.

Step 2: Cream the Shortening, Sugar, and Eggs
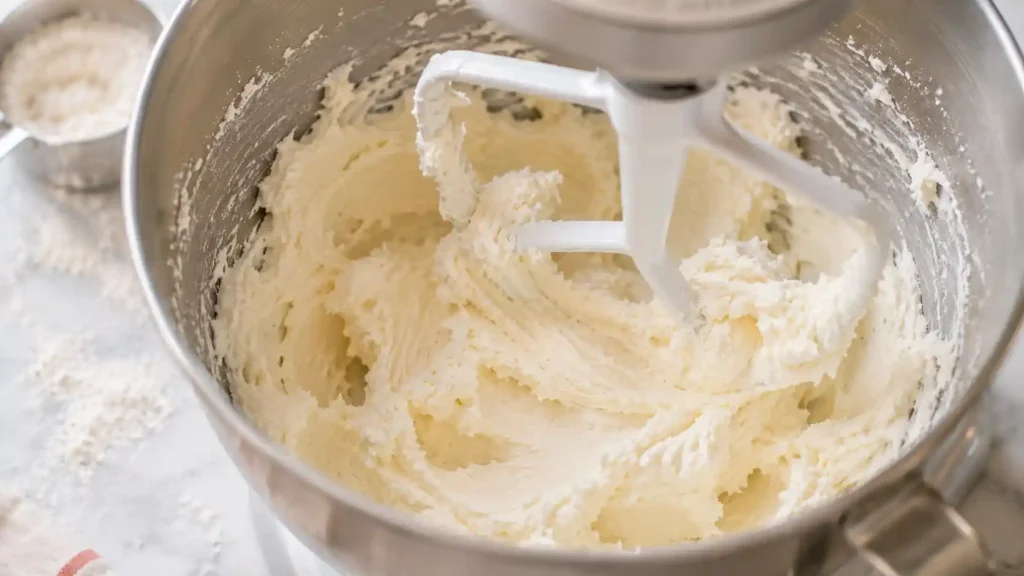
In a stand mixer or with a hand mixer, beat the shortening and sugar together on high speed until light and creamy, about 2-3 minutes. Add the eggs one at a time, beating well after each addition, then mix in the vanilla extract and butter extract (if using), scraping down the bowl as needed.
Step 3: Make the Cocoa-Red Coloring Paste
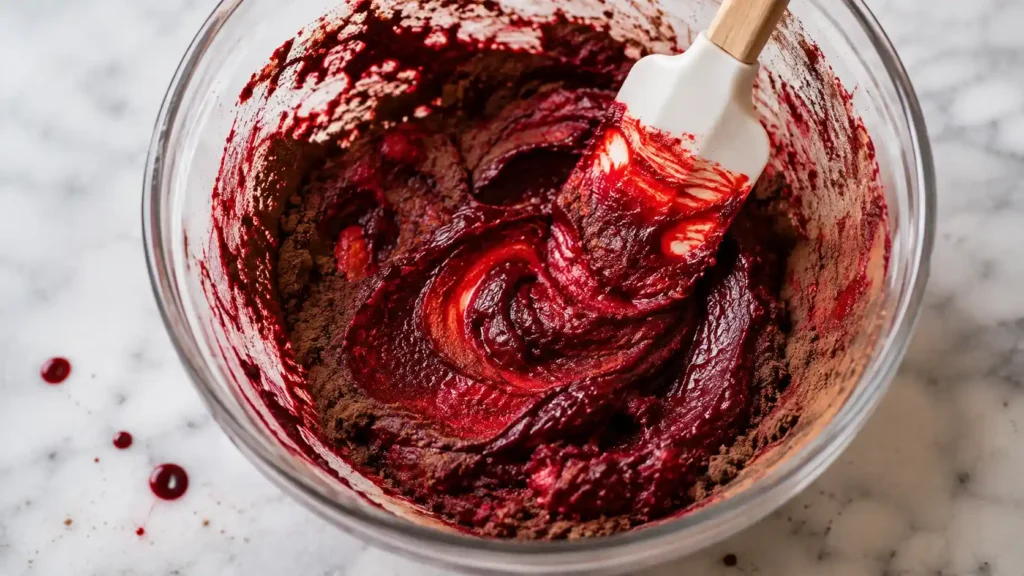
In a small bowl, stir the red food coloring and cocoa powder together into a thick paste. Add this to the creamed mixture and beat until fully combined and evenly red — this is the point where your kitchen towels are at risk, so keep a damp cloth nearby.
Step 4: Alternate the Flour and Buttermilk
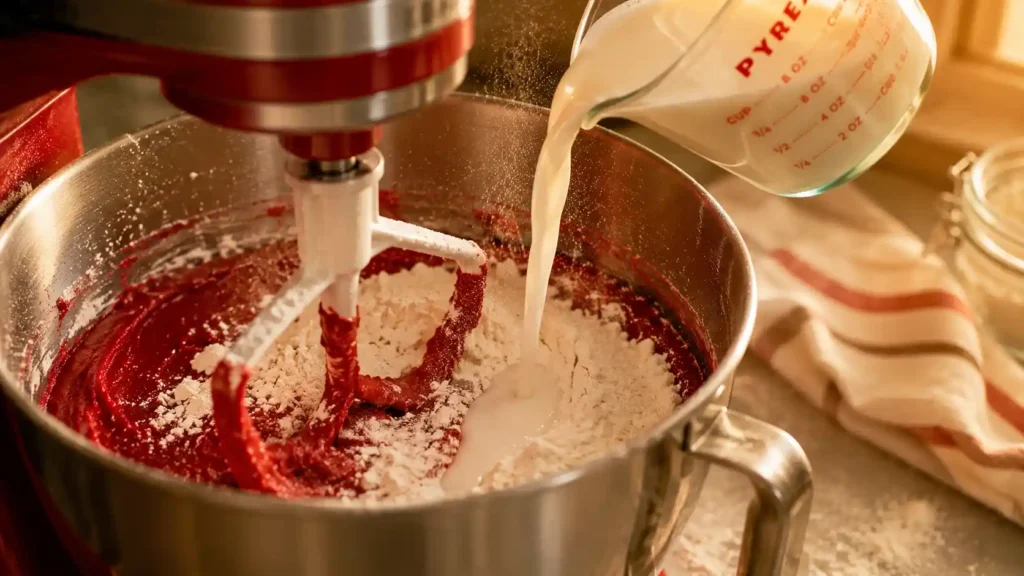
Add the salt, then add the cake flour and buttermilk alternately in three additions, starting and ending with the flour. Mix on low speed just until each addition is incorporated — overmixing here is what causes a dry, tough crumb.
Step 5: Activate the Baking Soda and Vinegar
In a small cup, combine the baking soda and vinegar — it will fizz immediately. Fold this into the batter right away; this reaction is what lightens the crumb, so don’t let it sit before adding it.

Step 6: Bake the Layers
Divide the batter evenly between your prepared pans and bake for 20-25 minutes, or until a toothpick inserted in the center comes out with a few moist crumbs (not wet batter). Let the cakes cool in their pans for 10 minutes, then turn them out onto a wire rack to cool completely before icing — icing warm cake layers will melt your frosting.
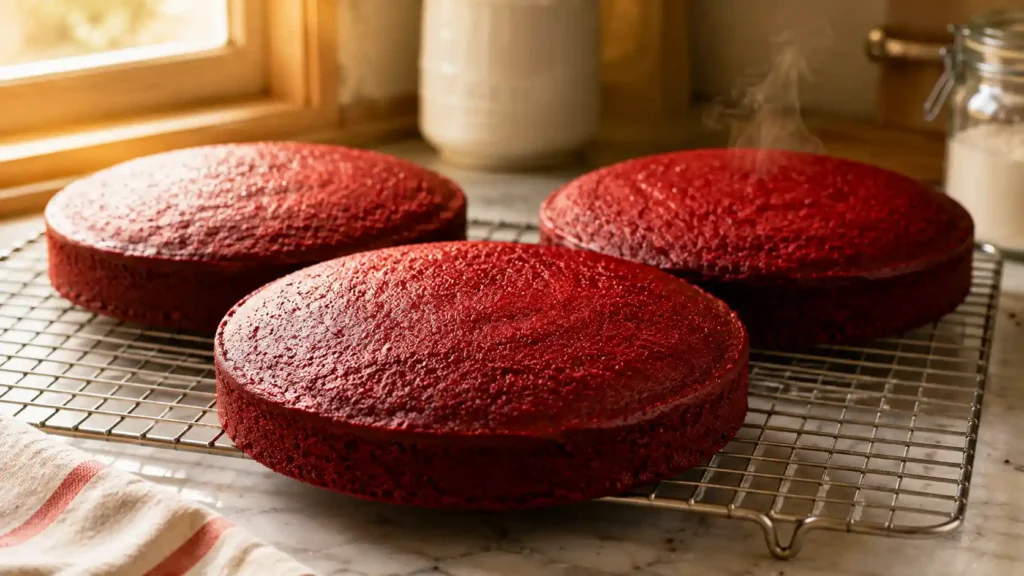
Step 7: Cook the Ermine Icing Base
In a saucepan off the heat, whisk the flour and milk together until completely smooth with no lumps. Set over medium heat and cook, whisking constantly, until the mixture thickens to a pudding-like consistency, about 5-8 minutes. Scrape it into a bowl, press plastic wrap directly onto the surface to prevent a skin from forming, and let it cool completely to room temperature — this can take an hour or more, so plan ahead, or speed it up in the fridge once it’s no longer hot.
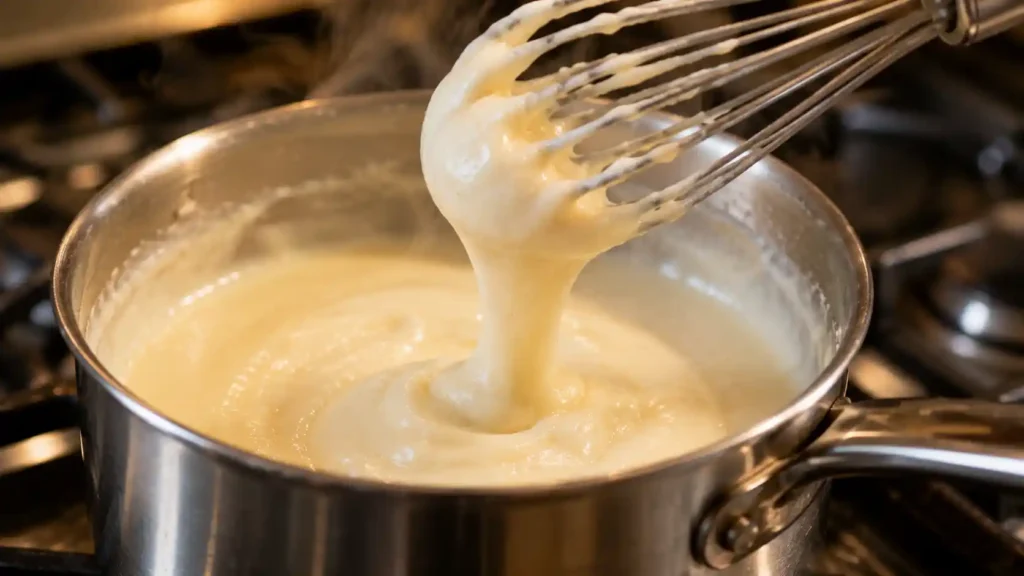
Step 8: Whip the Icing
In a stand mixer fitted with the whisk attachment, beat the butter and sugar together until light and fluffy, about 3-4 minutes. With the mixer running on low, add the completely cooled flour mixture a spoonful at a time, then increase speed and beat for 5-8 minutes until the icing is smooth, fluffy, and no longer grainy. It will look curdled partway through — keep whipping and it will come together.
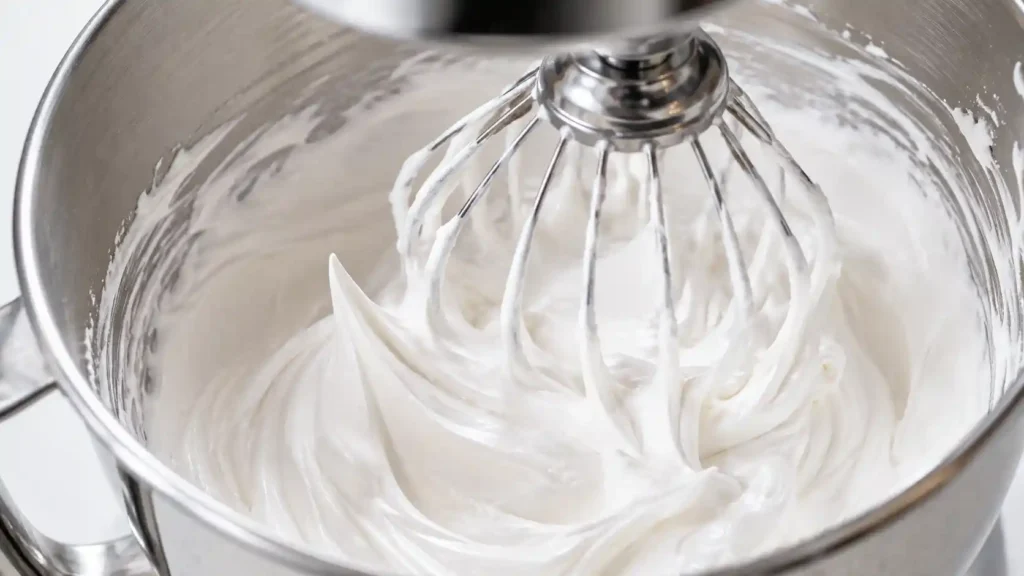
Step 9: Assemble and Frost the Cake
Place one cake layer on your serving plate and spread a generous layer of icing on top. Repeat with the remaining layers, then cover the top and sides with the rest of the icing. Refrigerate the finished cake for at least 30 minutes before slicing to help the icing set.
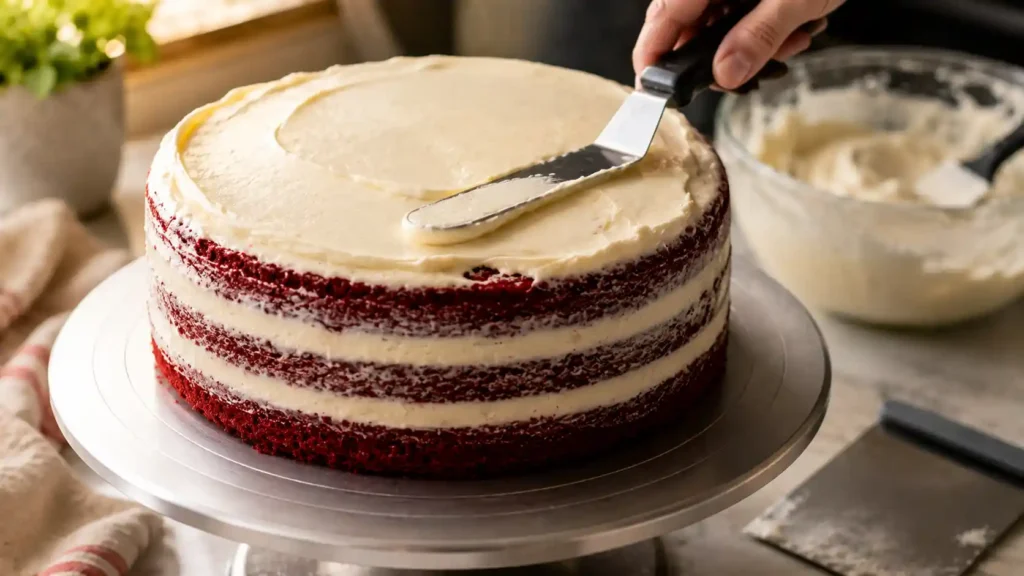
The Beet-Based Version: A Different “Original”
Here’s something most copycat recipes for this cake skip entirely, and it’s worth knowing before you commit to a version: Hilton’s own published recipe for “Waldorf Astoria Red Velvet Cake” — the one attached to the hotel’s official telling of the recipe legend — is not the cocoa-and-buttermilk cake above. It’s built on melted unsweetened chocolate, vegetable oil, and a pound and a half of pureed canned beets, and it’s finished with a cream cheese-and-mascarpone icing folded with whipped cream rather than the cooked ermine icing.
Both versions carry the Waldorf Astoria name and both have real documentation behind them, which is part of why searching for “the original recipe” turns up two genuinely different cakes. If you want to try the beet version:
- Melt 3 ounces of unsweetened chocolate and set aside.
- Beat 2 cups sugar, 4 eggs, 1½ cups vegetable oil, and 1½ teaspoons vanilla on low speed for 2 minutes.
- Sift in 2 cups all-purpose flour, 2¼ teaspoons baking soda, and ¼ teaspoon salt; mix in on low speed.
- Add the melted chocolate, then 1½ pounds drained, pureed canned beets and 1 teaspoon red food coloring; mix until combined.
- Divide between three prepared 9-inch pans and bake at 350°F for 20-25 minutes.
- For the icing, whip 2 cups heavy cream to soft peaks and refrigerate. Beat 12 ounces cream cheese until smooth, add 12 ounces mascarpone, then ½ teaspoon vanilla and 1½ cups sifted powdered sugar. Fold in the whipped cream by hand and keep the icing refrigerated until you’re ready to frost.
The beets add moisture and a very subtle earthiness that’s easy to miss once the chocolate and sugar are in play, and they were originally used as a natural way to boost both color and moisture before food dye was widely trusted. If your family’s version of this story mentions beets, this is almost certainly the recipe you’re thinking of.
Ermine Icing Troubleshooting
Because this icing is less forgiving than a simple powdered-sugar buttercream, a few common problems are worth heading off before you start:
Icing looks curdled or split: This almost always means a temperature mismatch — either your cooked flour-milk base was still slightly warm when you added it to the butter, or your butter was too cold. Keep whipping; in most cases it will smooth out within a few extra minutes on the mixer. If it doesn’t, gently warm the outside of the bowl (a hair dryer on low, or setting the bowl briefly over warm water) and re-whip.
Icing is grainy: Usually caused by not cooking the flour-milk base long enough for the sugar and flour to fully hydrate, or by rushing the whipping stage. Extended whipping — 8 minutes or more — resolves most graininess, since the icing needs time to trap air and dissolve fully.
Icing is runny or won’t hold its shape: The cooked base likely wasn’t thickened enough on the stove before cooling, or your butter was too soft going in. Chill the whole bowl of icing for 15-20 minutes, then re-whip; this usually firms it right up.

Waldorf Astoria Red Velvet Cake
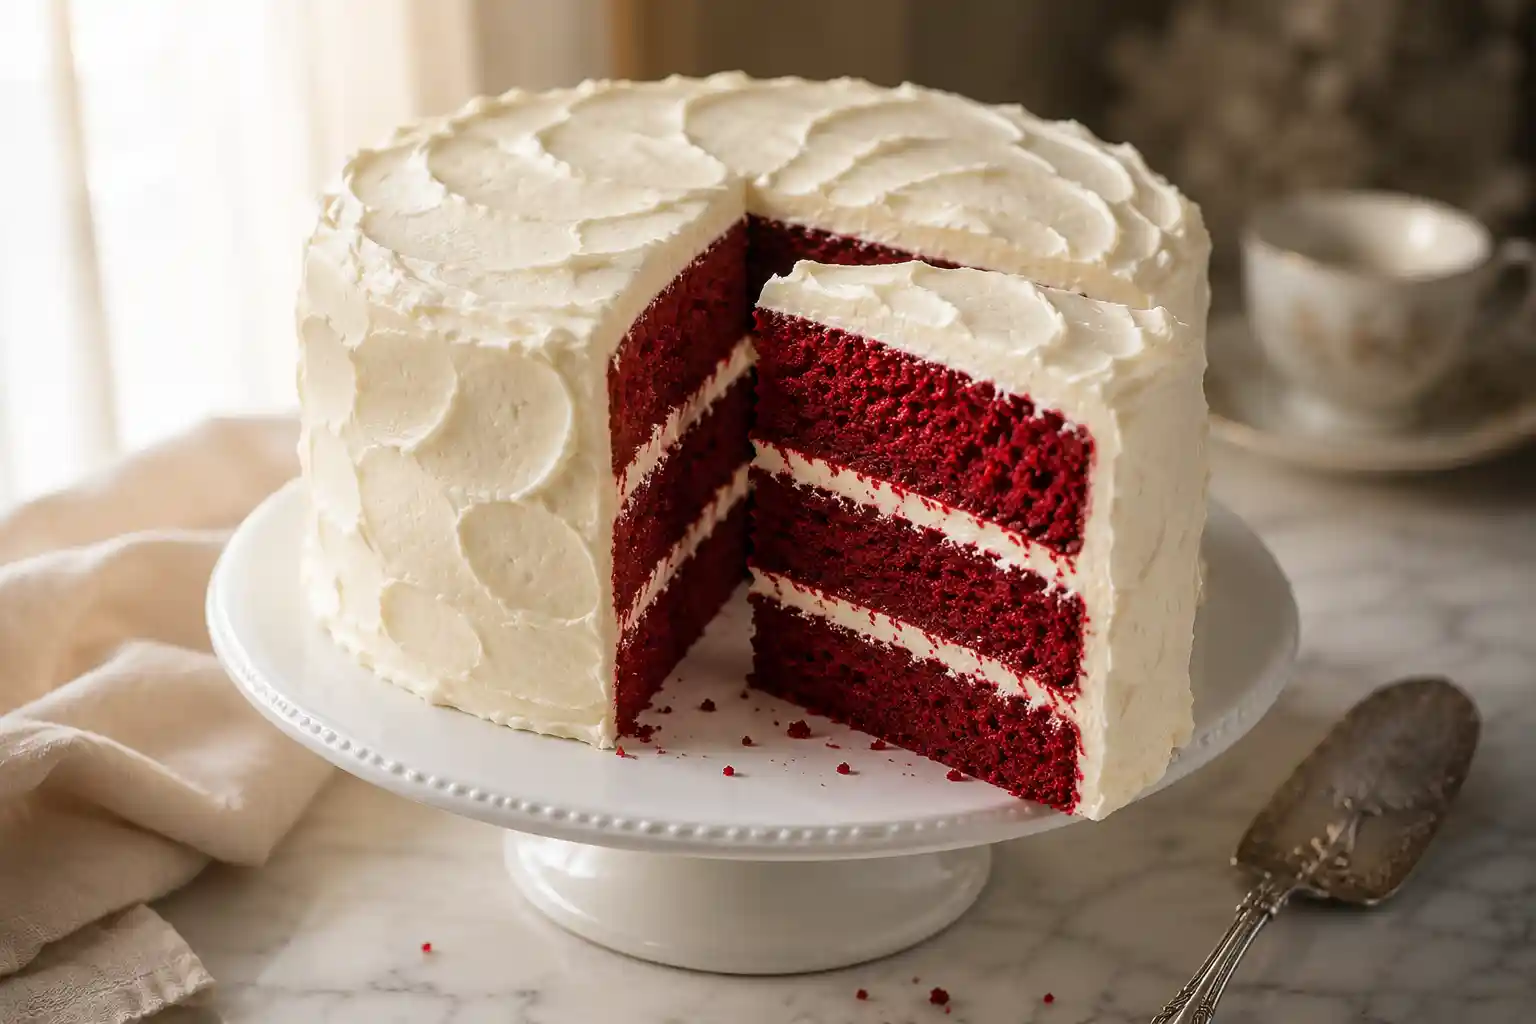
A three-layer red velvet cake made the original way — a cocoa-and-buttermilk batter finished with a whipped, cooked vanilla ermine icing instead of cream cheese frosting, just as it was historically served at the Waldorf Astoria hotel.
Ingredients
Equipment
Method
- Preheat oven to 350°F. Grease three 8-inch or 9-inch round cake pans and line the bottoms with parchment.
- Beat the shortening and sugar together until light and creamy. Add eggs one at a time, then beat in vanilla and butter extract.
- Stir the red food coloring and cocoa powder into a paste; beat into the creamed mixture until fully combined.
- Mix in the salt, then add the cake flour and buttermilk alternately in three additions, beginning and ending with flour. Mix just until combined.
- Combine the baking soda and vinegar in a small cup; fold the fizzing mixture into the batter immediately.
- Divide batter evenly between pans. Bake 20-25 minutes, until a toothpick comes out with moist crumbs. Cool in pans 10 minutes, then turn out onto a rack to cool completely.
- For the icing: whisk flour and milk together in a saucepan off heat until smooth. Cook over medium heat, whisking constantly, until thickened to a pudding consistency, 5-8 minutes. Transfer to a bowl, press plastic wrap onto the surface, and cool completely to room temperature.
- Beat butter and sugar until fluffy. With mixer on low, add the cooled flour mixture gradually. Increase speed and whip 5-8 minutes until smooth and fluffy (it will look curdled partway through — keep whipping).
- Assemble the cake, spreading icing between layers and over the top and sides. Refrigerate at least 30 minutes before slicing.
Video
Notes
For a beet-based version of this cake with a cream cheese-mascarpone icing, see the variation section in the article above.
If substituting all-purpose flour for cake flour, weigh it (about 240g) rather than measuring by volume, or the cake will turn out dry.
Store refrigerated in an airtight container for up to 4-5 days; unfrosted layers freeze well for up to 3 months.
Calories: Approximately 480 kcal per slice (estimate only; based on a standard 1/12 slice with icing).
Frequently Asked Questions
Is the Waldorf Astoria red velvet cake story true?
The most repeated version says a hotel guest requested the recipe, was billed a steep fee for it, and distributed the recipe out of spite to get revenge. It’s one of the oldest documented urban legends in American food history, and while Hilton itself has referenced the story, historians generally treat the specific guest and dollar figure as more legend than verified fact. What is well documented is that the Waldorf Astoria helped popularize the cake starting in the 1920s, even though the cake’s exact origins (New York versus the American South versus Eaton’s department store in Canada) are genuinely disputed.
What’s the difference between the original Waldorf Astoria recipe and modern red velvet cake?
Most modern red velvet recipes use a large amount of red food coloring purely for color and are frosted with cream cheese frosting. The historical Waldorf versions use only a small amount of cocoa and rely partly on a genuine (if mild) color reaction between natural cocoa and acidic buttermilk, and were traditionally topped with a cooked ermine icing rather than cream cheese frosting.
Why is red velvet cake called “velvet”?
The name refers to the cake’s smooth, fine-grained texture rather than its color. The combination of buttermilk, vinegar, and baking soda in the batter creates a tender, closely-knit crumb that early bakers compared to the texture of velvet fabric.
Can I use cream cheese frosting instead of ermine icing?
Yes — this is actually the more common way people eat red velvet cake today, and it pairs well with this cake if you prefer a tangier, denser frosting. Just know you’d be swapping in the more modern pairing rather than the version historically served at the Waldorf.
Why does my red velvet cake taste like chocolate cake instead of red velvet?
This usually comes down to cocoa type and quantity. Using Dutch-processed (alkalized) cocoa instead of natural cocoa mutes the tang-and-cocoa balance that makes red velvet distinct, and using more than the recipe calls for pushes the flavor toward a mild chocolate cake instead. Stick with natural cocoa and measure it precisely.
How do I store and freeze this cake?
Because the ermine icing contains milk, keep the finished cake refrigerated in an airtight container or under a cake dome; it will keep for about 4-5 days. To freeze, wrap unfrosted cake layers tightly in plastic wrap and freeze for up to 3 months, thawing overnight in the refrigerator before frosting. The iced cake itself can also be frozen; slice, wrap individual pieces, and thaw in the fridge.
Can I make this cake gluten-free or dairy-free?
For gluten-free, a 1:1 cup-for-cup gluten-free baking blend generally works in the cake layers, though the crumb will be slightly more delicate. The ermine icing is trickier to convert since it depends on wheat flour’s thickening properties — a dairy-free cream cheese frosting is a more reliable gluten-free-friendly swap for the icing than trying to adapt the cooked version.
How many calories are in a slice of red velvet cake?
This varies widely by size and frosting type. A standard homemade slice typically falls somewhere in the 350-500 calorie range, while larger bakery-style slices with more frosting often run higher. Because slice size and icing amount vary so much between homemade and store-bought versions, treat any specific number as an estimate rather than a fixed figure.