Your favorite restaurant recipes, recreated at home — tested and easy to follow.


Chicken wings are one of those foods that seem simple until you actually try to nail them at home — soggy skin, unevenly cooked meat, and a kitchen that smells like a deep fryer for the rest of the night are all too common. The Ninja Woodfire Grill changes that math almost entirely. Because it combines a convection air crisp function with a built-in smoke box, you get the crackly, deep-fried texture of restaurant wings and real wood-smoke flavor, using only a light mist of oil and no standing over a pot of hot fat.
This recipe uses the Air Crisp function as its backbone, with a deliberate two-stage temperature approach: a longer stretch at a moderate heat to render fat and cook the meat through, followed by a short blast at high heat to shatter the skin into something genuinely crispy. It’s the same logic pitmasters and air-fryer wing enthusiasts have landed on independently, and it happens to be exactly what the Woodfire Grill is built to do well.
Whether you’re making Ninja Woodfire Grill chicken wings at home for game day, a weeknight dinner, or just because you’re craving that crispy-skin, juicy-inside combination, this method is repeatable and forgiving. Below you’ll find the ingredient breakdown, a full step-by-step walkthrough with real times and temperatures, a printable recipe card, and answers to the questions people most often run into when grilling chicken wings this way.
Key Ingredients & Substitutions
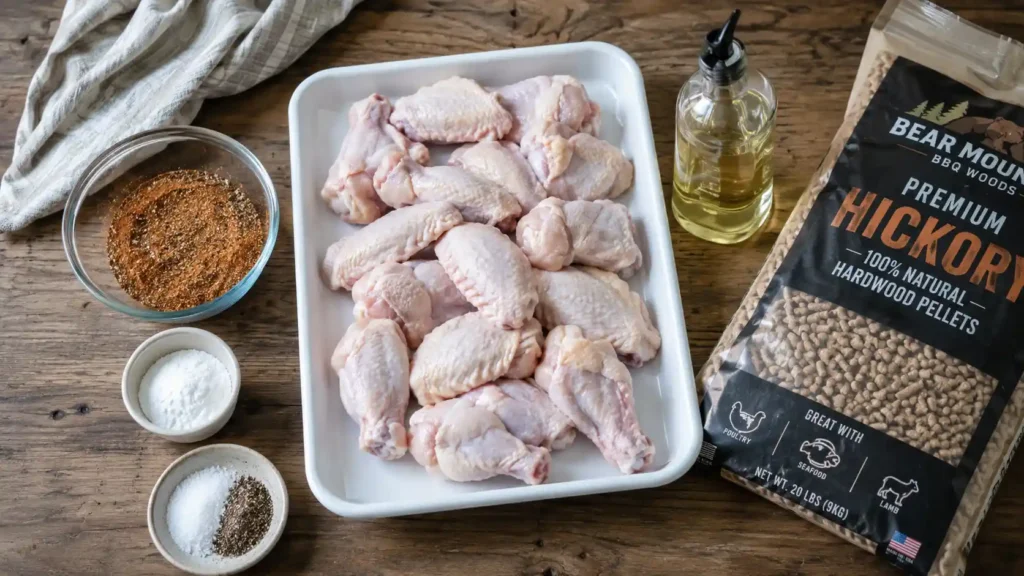
Chicken wings (whole, or separated into flats and drummettes) — Whole wings work fine in the Woodfire Grill’s basket, but pre-separated flats and drummettes cook a little more evenly since every piece is roughly the same thickness. Either way, make sure the wings are fully thawed before they go in; frozen or partially frozen wings won’t crisp properly and will throw off your timing.
Baking powder (aluminum-free) — This is optional but genuinely useful. A light dusting draws moisture to the surface of the skin and raises its pH slightly, which helps it brown and crisp faster under the Woodfire Grill’s convection fan. Skip it if you don’t have any on hand — the two-stage temperature method still gets you good results without it — but if you’ve had trouble with limp skin before, this is usually the fix.
Kosher salt and black pepper — The baseline seasoning. Salting ahead of time (even just 15–20 minutes uncovered in the fridge) helps dry the skin’s surface, which is one of the biggest factors in how crisp your wings turn out.
Neutral oil (avocado or a light olive oil) — Just enough to help seasoning adhere and encourage browning; this isn’t a deep-fry, so a light mist or toss is all you need. Cooking spray works too if that’s what you have.
Your favorite dry rub or wing seasoning — Classic poultry rub, Cajun blend, lemon pepper, or a simple garlic-and-paprika mix all work well here. The cooking method doesn’t change based on your seasoning, so feel free to swap in whatever flavor direction you’re craving.
Ninja Woodfire pellets (All-Purpose or Robust blend) — These go in the smoke box, not directly on the food, and are what give the wings their wood-fired flavor when you turn on the Woodfire Flavor setting. All-Purpose gives a milder, slightly sweet background smoke, while Robust leans into a bolder, more traditional barbecue profile. Stick to Ninja-brand pellets, since the smoke box is designed specifically around their size and burn rate.
Wing sauce of choice (optional) — Classic buffalo, a garlic-parmesan butter sauce, honey mustard, or a dry rub finish all work. Toss the sauce on after cooking rather than before, so the sugar in most sauces doesn’t burn during the high-heat stage.
How to Make Ninja Woodfire Grill Chicken Wings at Home
The whole process takes about 30–35 minutes of actual cook time once your grill is preheated, split into two temperature stages: a longer air crisp stage to cook the wings through, then a short high-heat finish to crisp the skin. You’ll flip the wings once partway through the first stage so both sides get even airflow, and the Woodfire Flavor button is what lets real wood smoke into the mix if you want it. Here’s the full breakdown.
Step 1: Dry and Season the Wings
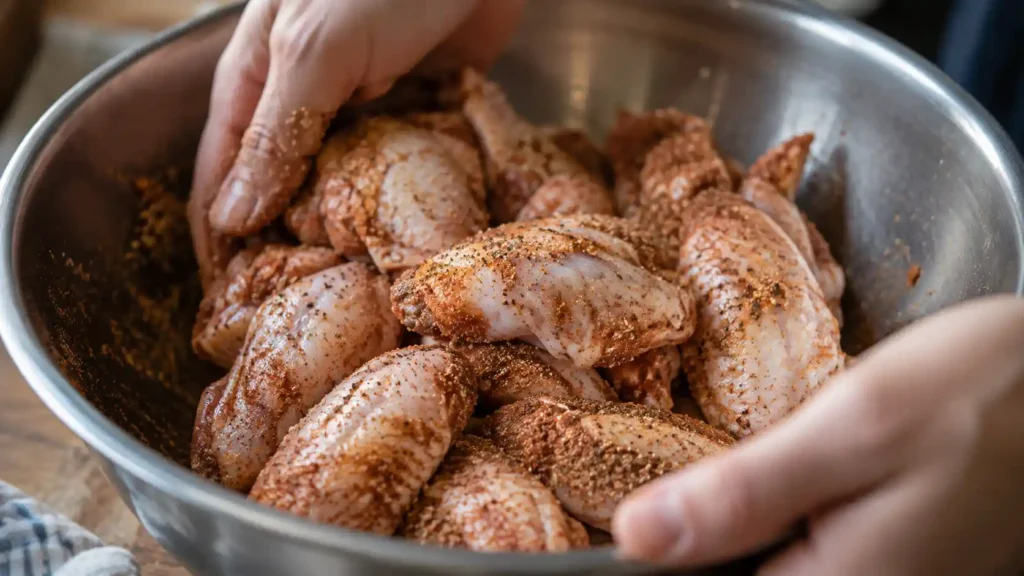
Pat the wings completely dry with paper towels — this is one of the most important steps for crispy skin, since any surface moisture will steam instead of crisp under heat. In a large bowl, toss the wings with a light coating of oil, then add your seasoning (and baking powder, if using), tossing again until every piece is evenly coated. For the crispest results, spread the wings on a wire rack or tray and let them sit uncovered in the fridge for 15–20 minutes while you prep the grill; this further dries the skin’s surface.
Step 2: Load the Smoke Box
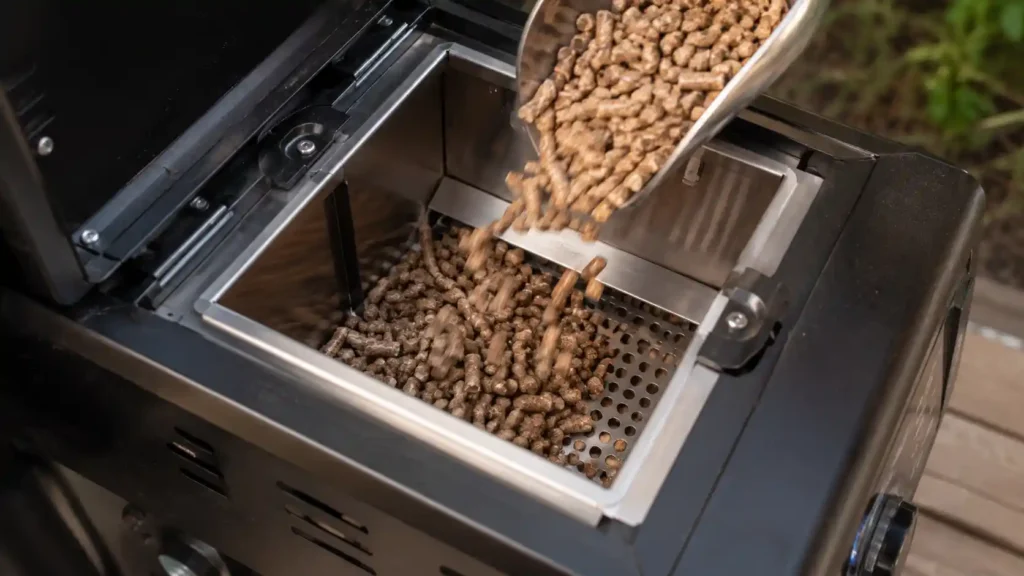
If you want wood-fired flavor, lift the smoke box lid and fill it with Ninja Woodfire pellets (All-Purpose for a lighter touch, Robust for something bolder), then close the lid. If you’d rather skip the smoke and just use the air crisp function on its own, you can leave this step out entirely — the wings will still crisp up fine.
Step 3: Preheat on Air Crisp
Turn the dial to Air Crisp, press Woodfire Flavor if you loaded pellets, set the temperature to 390°F, and set the time for 25 minutes. Let the grill preheat fully until it signals to add food — this usually takes about 8–10 minutes and matters more than people expect, since adding wings to a grill that hasn’t reached temperature yet leads to pale, unevenly cooked skin.
Step 4: Air Crisp the Wings
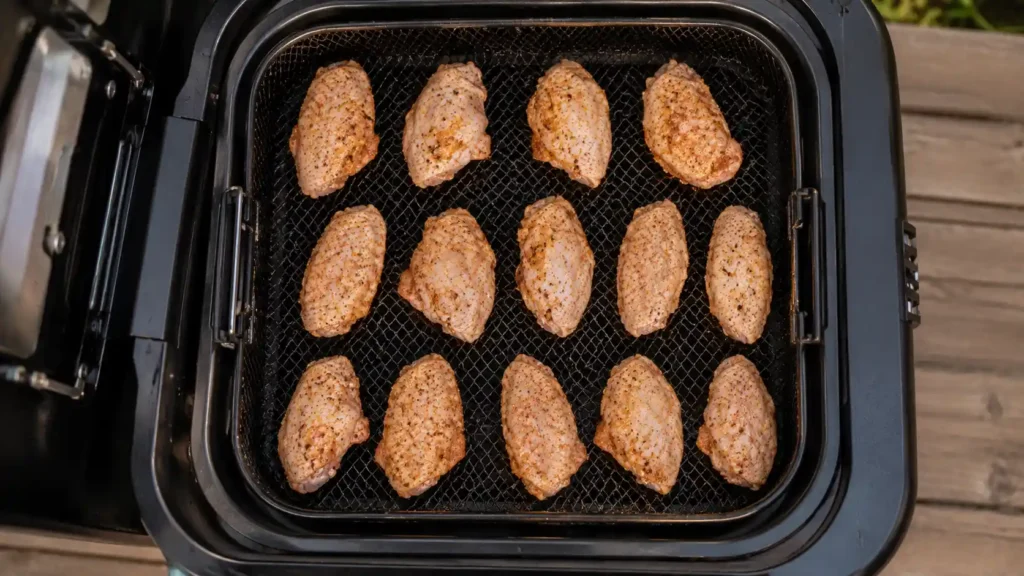
Arrange the wings in a single layer in the Air Crisp basket, skin-side up, leaving a little space between each piece so hot air can circulate all the way around them. Overcrowding is the number one reason wings turn out soft instead of crispy in any air fryer or air crisp function, since packed-in pieces trap steam against each other. Close the hood and cook for 15 minutes, then open, flip each wing, and continue cooking for another 10 minutes.
Step 5: Crank the Heat for Extra-Crispy Skin
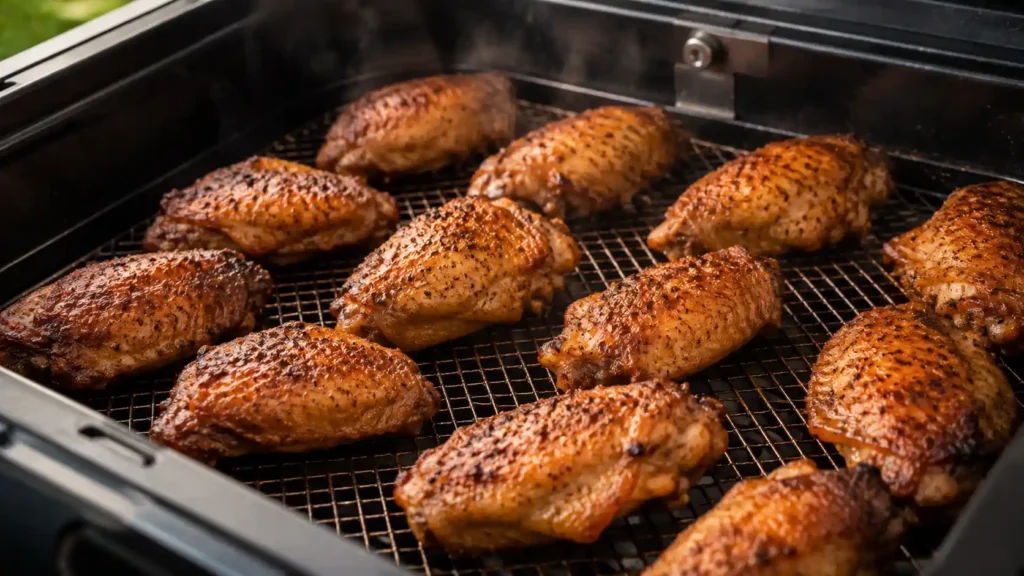
Once the first stage is done, increase the temperature to 450°F and cook for a final 5 minutes, watching closely toward the end. This short high-heat blast is what pushes the skin from “cooked and dry” to genuinely crackly-crisp. The wings are done when they reach an internal temperature of at least 165°F, though many home cooks prefer pulling wings closer to 185–190°F, since the extra time helps render more fat out of the skin and connective tissue, giving a more tender bite typical of well-cooked wings.
Step 6: Rest, Sauce, and Serve
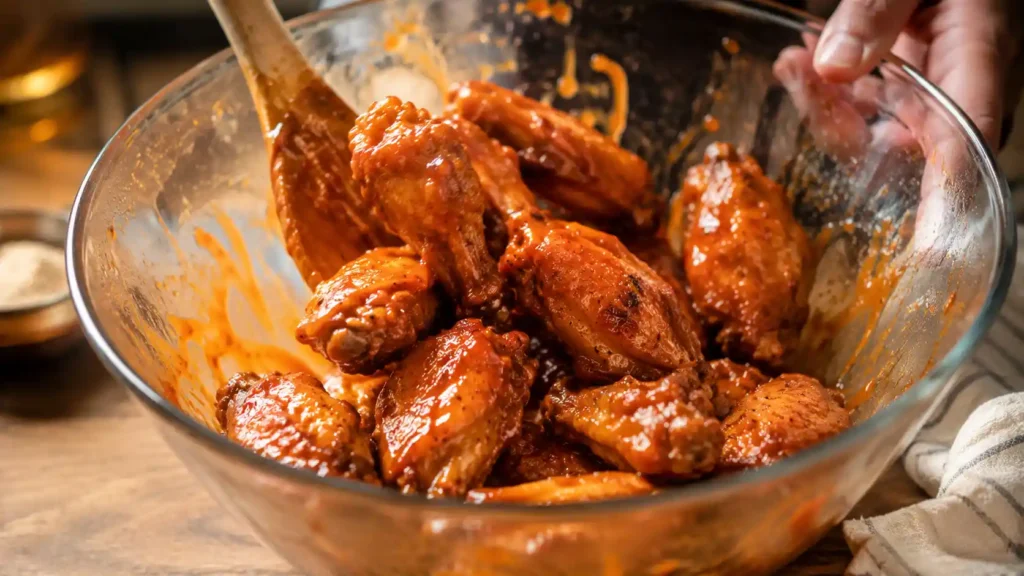
Let the wings rest for 2–3 minutes off the heat, then toss them in your sauce of choice in a large bowl, or serve them dry with sauce on the side for dipping. Tossing after cooking, rather than saucing before, keeps the skin from steaming or the sugars in the sauce from scorching during the high-heat stage.
You may also like:
Air Crisp vs. Grill Function: Which Gets Crispier Wings?
The Woodfire Grill can technically cook wings on either its Grill or Air Crisp function, but they behave differently enough that it’s worth knowing which to reach for. The Grill function applies direct high heat similar to a traditional outdoor grill, which gives you visible char and grill marks, but wings are thin and irregularly shaped, so they’re prone to flare-ups and uneven cooking — some spots char while others stay underdone. The Air Crisp function, used in this recipe, relies on the enclosed convection fan to circulate hot air evenly around every piece in the basket, which is a much closer match to how wings are traditionally deep-fried, minus the oil. For genuinely crispy, evenly cooked wings, Air Crisp is the better choice; save the Grill function for cuts like steaks, burgers, or bone-in thighs where char and grill marks are actually the goal.
Should You Use the Baking Powder Trick?
A lot of home cooks ask whether the baking powder step is really necessary, and the honest answer is that it’s a genuine upgrade, not a myth. Baking powder is slightly alkaline, which breaks down some of the proteins in the chicken skin and helps it brown more efficiently, while also drawing moisture to the surface where it can evaporate faster. The two-stage temperature method in this recipe already gets you most of the way to crispy skin on its own, but if you’ve tried Woodfire Grill wings before and felt like the skin stayed a little rubbery, adding a light baking powder dust to your rub is the single easiest fix. Just make sure it’s aluminum-free baking powder, not baking soda, which is far more alkaline and will leave a soapy aftertaste if you use too much.
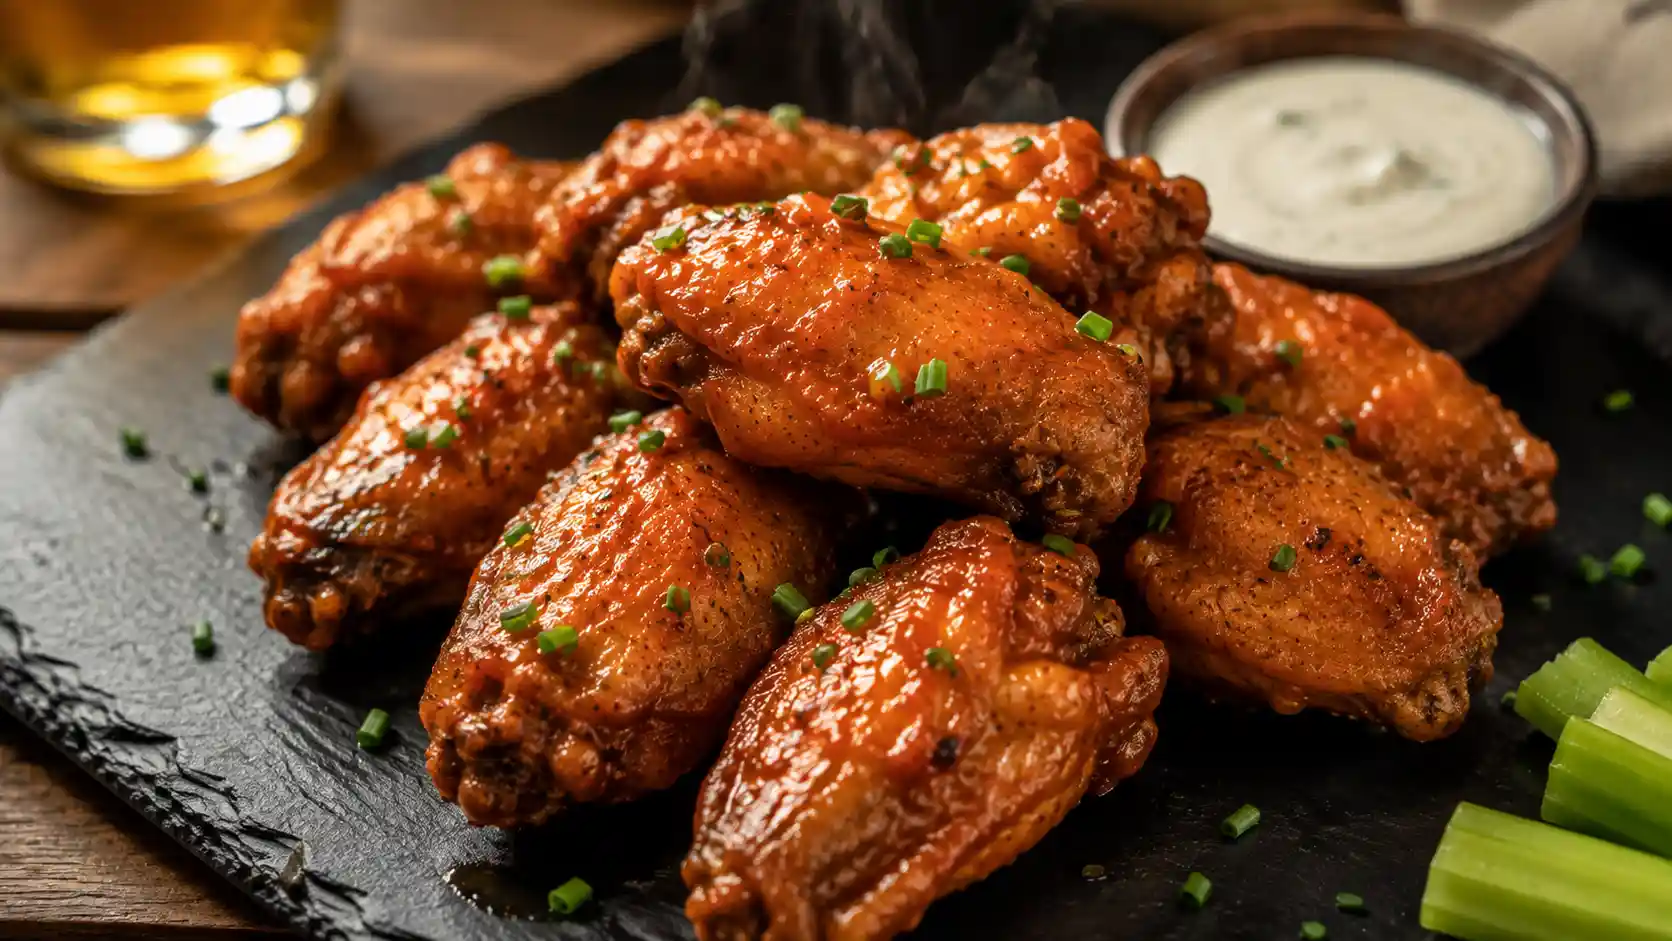

Ninja Woodfire Grill Chicken Wings
Crispy, smoky chicken wings made on the Ninja Woodfire Grill using a two-stage Air Crisp method. A quick dry-brine, real wood-fired flavor, and a high-heat finish give you shatter-crisp skin without a drop of deep-fry oil.
Ingredients
Equipment
Method
- Pat the wings completely dry with paper towels. Toss with oil, salt, pepper, dry rub, and baking powder (if using) until evenly coated.
- Spread wings on a rack or tray and refrigerate uncovered for 15–20 minutes to further dry the skin (optional but recommended).
- Fill the smoke box with Ninja Woodfire pellets if using smoke flavor.
- Set the grill to Air Crisp, press Woodfire Flavor if using pellets, set temperature to 390°F, and time to 25 minutes. Preheat fully.
- Arrange wings in a single layer in the Air Crisp basket, skin-side up, with space between pieces. Cook for 15 minutes.
- Open the hood, flip each wing, and cook for another 10 minutes.
- Increase temperature to 450°F and cook for a final 5 minutes, until skin is deeply golden and internal temperature reaches at least 165°F (185–190°F for extra-tender texture).
- Rest wings for 2–3 minutes, then toss in sauce of choice or serve dry with sauce on the side.
Video
Notes
Leftover wings keep in an airtight container in the fridge for up to 4 days. To reheat, use the Air Crisp function at 375°F for 4–5 minutes to restore crispness — microwaving will make the skin rubbery. For freezing, store cooled, unsauced wings in a freezer-safe bag for up to 2 months and reheat from frozen using Air Crisp, adding extra time. This recipe is naturally gluten-free as written; check your specific rub and sauce labels, since some blends contain gluten-based thickeners. See the Air Crisp vs. Grill comparison above if you’re deciding between functions.
Frequently Asked Questions
What temperature do you cook chicken wings on a Ninja Woodfire Grill?
This recipe uses Air Crisp at 390°F for the first 25 minutes, then a final 5-minute blast at 450°F to crisp the skin. That two-stage approach cooks the meat through gently before finishing with a quick burst of high heat for crunch.
Should I flip the wings while they cook?
Yes. Unlike some Woodfire Grill recipes cooked directly on the grate, wings in the Air Crisp basket benefit from one flip partway through so both sides get even exposure to the circulating hot air, since they’re stacked more closely together in a basket than on an open grate.
Do I need to use baking powder for crispy skin?
No, it’s optional, but it does help. Baking powder draws moisture to the surface and speeds up browning, which is especially useful if you’ve had trouble getting fully crisp skin in the past. The two-stage temperature method works without it, just slightly less dramatically.
Can I cook frozen chicken wings on the Ninja Woodfire Grill?
It’s best to fully thaw wings first. Cooking from frozen leads to uneven results, since the outside can dry out or overcook before the inside reaches a safe temperature, and it also throws off the timing in this recipe.
Should I toss the wings in sauce before or after cooking?
After. Sauce added before cooking tends to burn or turn gummy during the high-heat finishing stage, especially sauces with sugar or honey. Tossing the wings in sauce right after they come off the grill keeps the skin crisp underneath.
How do I store and reheat leftover wings?
Store cooled wings in an airtight container in the fridge for up to 4 days. To reheat, use the Air Crisp function again at around 375°F for 4–5 minutes — this restores the crispy texture far better than a microwave, which tends to leave the skin soft.
Can I freeze cooked wings?
Yes. Freeze cooled, unsauced wings in a freezer-safe bag for up to 2 months. Reheat directly from frozen using Air Crisp, adding a few extra minutes and checking that they’re heated through before serving.
Is this recipe gluten-free or dairy-free?
As written with just chicken, oil, salt, pepper, and a basic dry rub, this recipe is naturally gluten-free and dairy-free. If you add a sauce, double check the label — some wing sauces include soy sauce, malt vinegar, or dairy-based ranch and blue cheese components that aren’t gluten-free or dairy-free.