Your favorite restaurant recipes, recreated at home — tested and easy to follow.


Boneless chicken breast has a reputation for turning out dry, and on a lot of grills that reputation is earned — there’s just not much fat to protect it once the heat gets going. The Ninja Woodfire Outdoor Grill actually solves this problem better than most home equipment, because it’s not really a grill in the traditional sense. It’s an electric convection grill with a built-in smoke box, which means the heat stays consistent and controllable while real wood pellets do the flavor work, so you get genuine smoky depth without babysitting a temperature dial or dealing with flare-ups.
This recipe leans into that strength by using the Smoker function instead of straight high-heat grilling, which keeps the chicken breast cooking gently and evenly while it pulls in smoke the whole time. It’s a completely different result than tossing chicken breast on a hot gas grill for a few minutes a side — you end up with meat that’s noticeably more tender, with a light smoke ring and real woodfire flavor all the way through, not just on the surface.
If you’ve had mixed results with chicken breast on your Woodfire Grill before — either dry in the middle or pale and smoke-less — this method addresses both problems directly with a quick brine, a specific temperature target, and a probe-based approach to pulling the chicken at exactly the right moment.
Key Ingredients & Substitutions
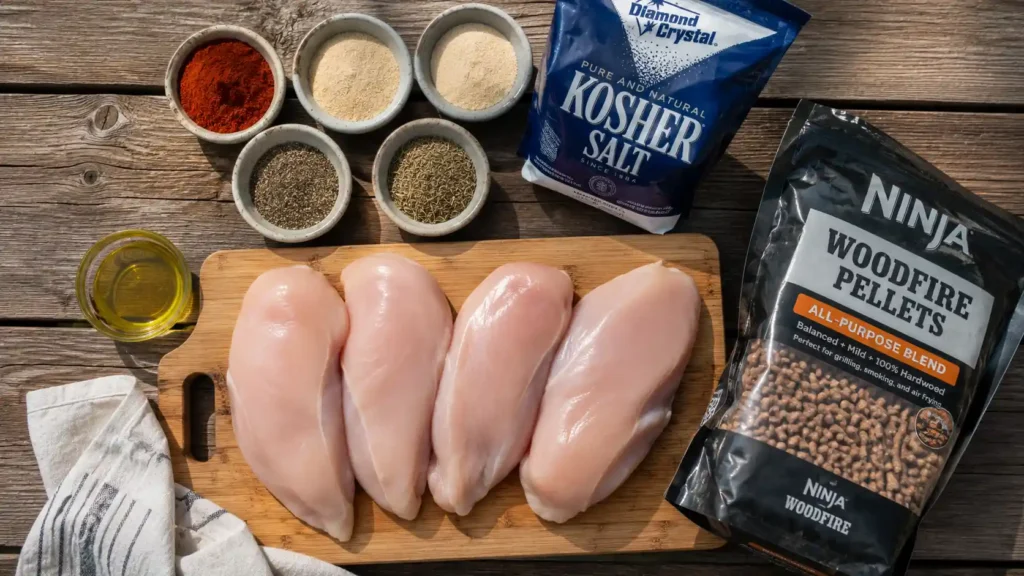
Boneless, skinless chicken breasts — Go for similarly sized breasts if you can, or pound the thicker end down to an even thickness with a meat mallet before cooking. Uneven thickness is the single biggest reason chicken breast turns out dry on one end and undercooked on the other, on any grill.
Water and kosher salt (for the quick brine) — A short 20-30 minute brine seasons the meat from the inside and helps it hold onto moisture during the smoke, which matters more for boneless breast than almost any other cut. If you’re short on time, you can skip this and season the surface only, but expect a slightly less juicy result.
Olive oil — Helps the seasoning stick and promotes better browning on the surface. Any neutral or light oil works; just avoid anything you wouldn’t want at high heat.
Seasoning blend (paprika, garlic powder, onion powder, black pepper, dried thyme) — This is a flexible, all-purpose rub. Swap in your favorite BBQ rub, Montreal chicken seasoning, or a Cajun blend if you want a different flavor direction — the cooking method stays the same regardless of seasoning.
Ninja Woodfire pellets (All-Purpose or Robust blend) — All-Purpose is a milder, slightly sweet blend that won’t overpower the chicken, while Robust leans into a deeper, more classic barbecue smoke flavor. Only Ninja-brand pellets are designed to work with the smoke box, so this isn’t a place to substitute off-brand wood chips.
How to Make Ninja Woodfire Grill Chicken Breast
This method uses the Smoker function at a steady 375°F, which is high enough to render a good texture but low enough to give the pellets real time to work, so the chicken actually tastes smoked instead of just grilled. Total active time is minimal — about 10 minutes of prep, then the grill does the rest over roughly 25-30 minutes, depending on the thickness of your chicken breasts. A digital probe thermometer (or the grill’s built-in probe, if your model has one) makes this close to foolproof.
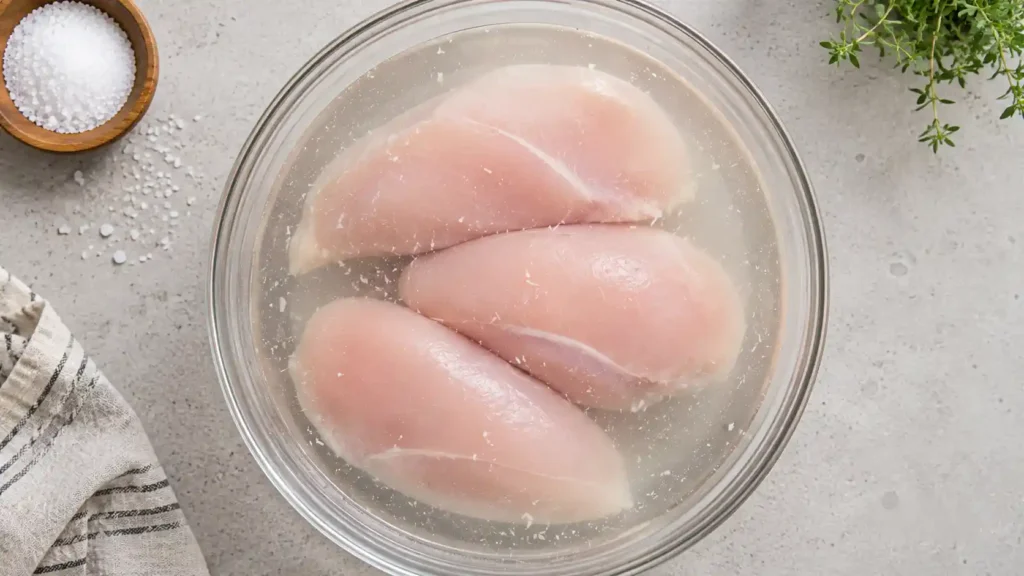
Step 1: Quick Brine the Chicken
Dissolve 3 tablespoons of kosher salt in 4 cups of cold water in a large bowl or zip-top bag. Submerge the chicken breasts and let them sit in the fridge for 20-30 minutes — no longer, or the texture can turn spongy. Remove, pat completely dry with paper towels, and set aside. Patting the chicken bone-dry matters here, since wet chicken won’t take on the rub or brown properly.
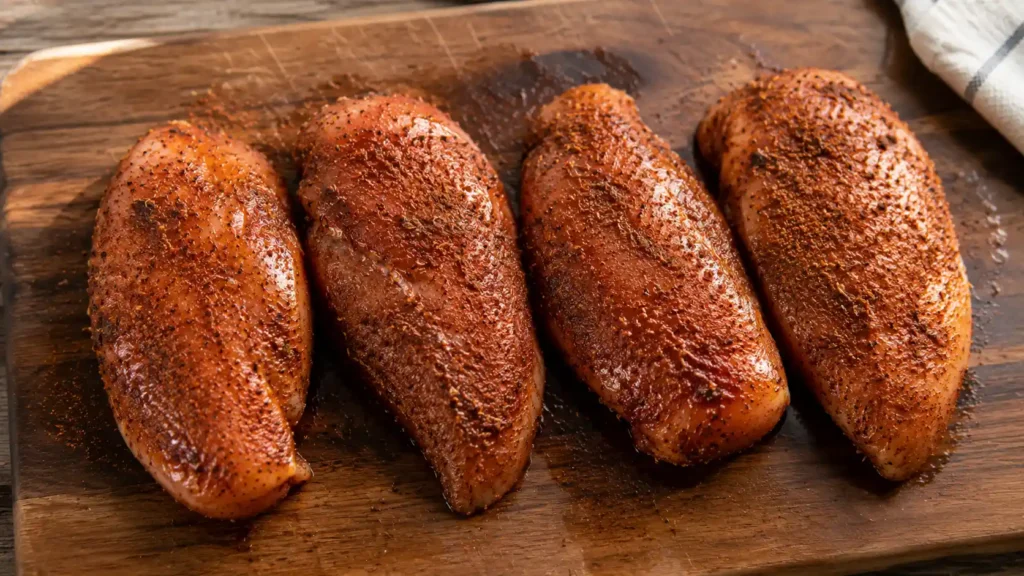
Step 2: Season the Chicken
Rub the chicken breasts all over with olive oil, then coat evenly with your seasoning blend on both sides, pressing it in gently so it adheres. Let the chicken sit at room temperature for about 10 minutes while you prep the grill — starting from a less-cold state helps it cook more evenly.
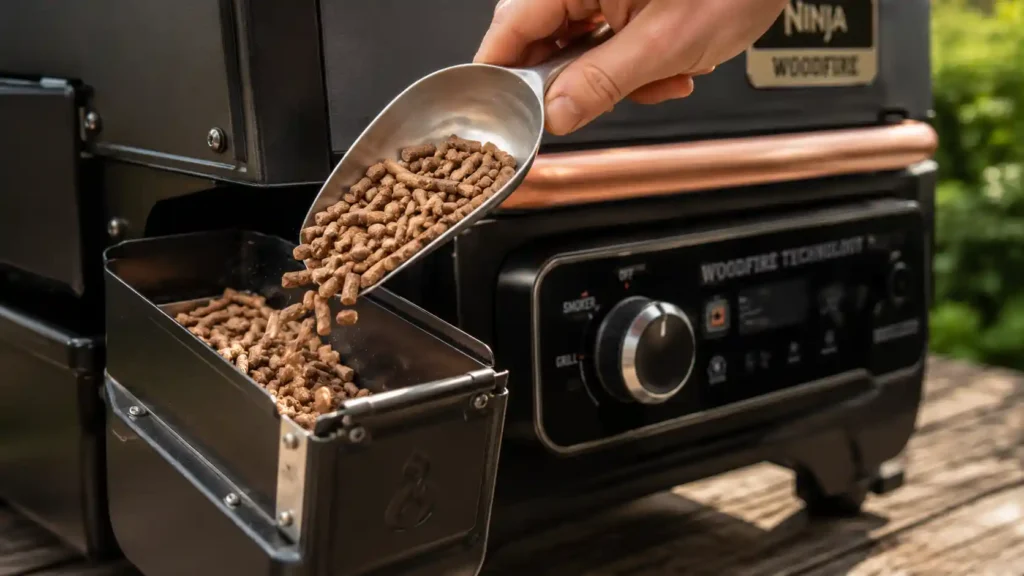
Step 3: Load Pellets and Preheat
Fill the smoke box with about ½ cup of Ninja Woodfire pellets (All-Purpose for a milder profile, Robust if you want a stronger smoke flavor). Turn the dial to the Smoker function, set the temperature to 375°F, and set the time to 30 minutes. There’s no need for a separate preheat cycle with the Smoker function — the pellets self-ignite once the cook starts.
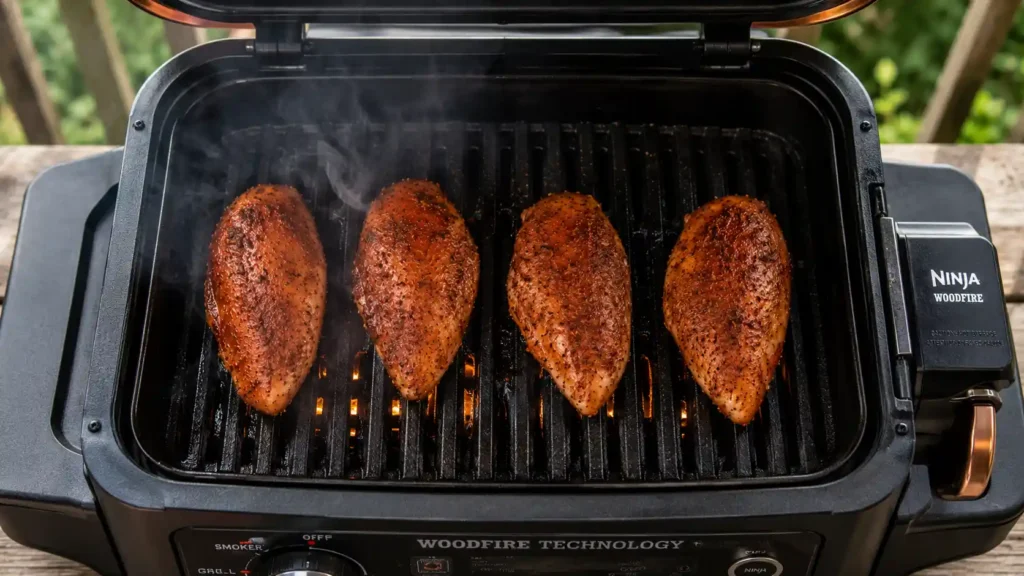
Step 4: Smoke the Chicken
Place the chicken breasts directly on the grill grate, leaving space between each piece so smoke can circulate freely around them, and close the hood. If you’re using a probe thermometer, insert it into the thickest part of one breast now. Let the chicken smoke undisturbed — there’s no need to flip, since the convection fan circulates heat evenly on both sides. Start checking the internal temperature around the 20-minute mark; you’re looking for 165°F in the thickest part.
Step 5: Rest and Slice
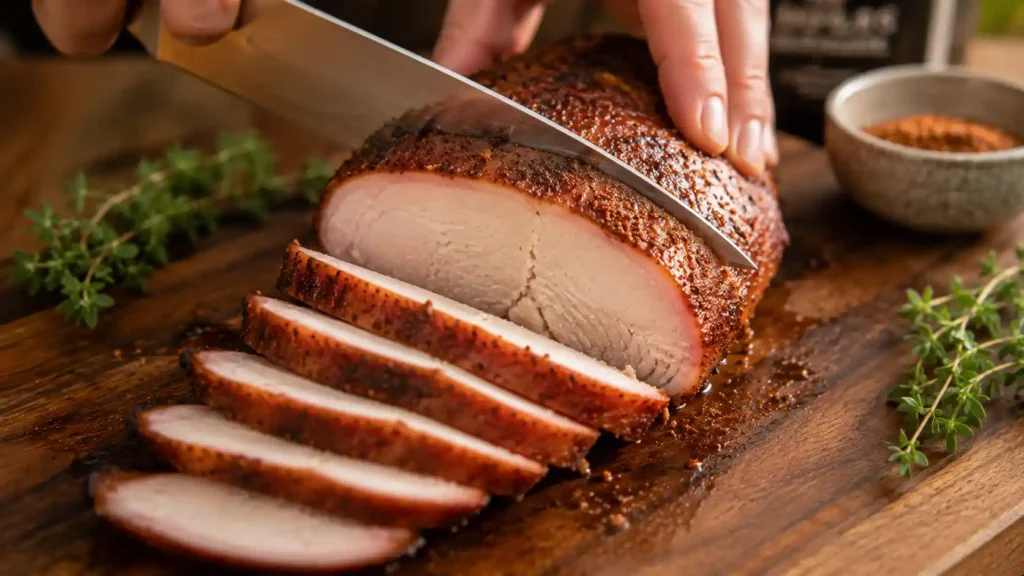
Once the chicken hits 165°F, remove it from the grill and let it rest on a cutting board for 5 minutes before slicing. This short rest lets the juices redistribute through the meat instead of running out the moment you cut into it, which makes a real difference in how juicy the final slices taste.
You may also like:
Smoker Function vs. Grill Function: Which Should You Use?
The Woodfire Grill can technically cook chicken breast on either its Grill or Smoker setting, and they genuinely produce different results, so it’s worth knowing which one you actually want. The Grill function runs hotter and faster, giving you visible sear marks and a shorter cook (roughly 5-7 minutes per side), which is closer to a classic backyard-grilled chicken breast. The Smoker function, used in this recipe, runs cooler and longer, which gives the pellets more time to actually infuse flavor into the meat rather than just kissing the surface. If you’re short on time and mainly want grill marks and char, use Grill. If real woodfire flavor is the point, Smoker at 375°F is the better call for boneless chicken breast specifically, since it’s thin enough to cook through well before drying out.
A Note on Pellet Choice and Smoke Time
Because the Woodfire Grill cooks faster than a traditional backyard smoker, chicken breast only spends about 20-30 minutes in active smoke exposure — nowhere near the hours a full-size pellet smoker would use. That shorter window means bolder pellets like Robust or hickory-forward blends tend to come through more clearly than delicate, mild woods, which may barely register in a cook this short. If you’ve tried a milder pellet blend before and felt like the smoke flavor was underwhelming, that’s likely why — save the subtler blends for longer cooks like ribs or a whole roast, and reach for the stronger blend for a quick cook like this one.

Smoked Ninja Woodfire Grill Chicken Breast
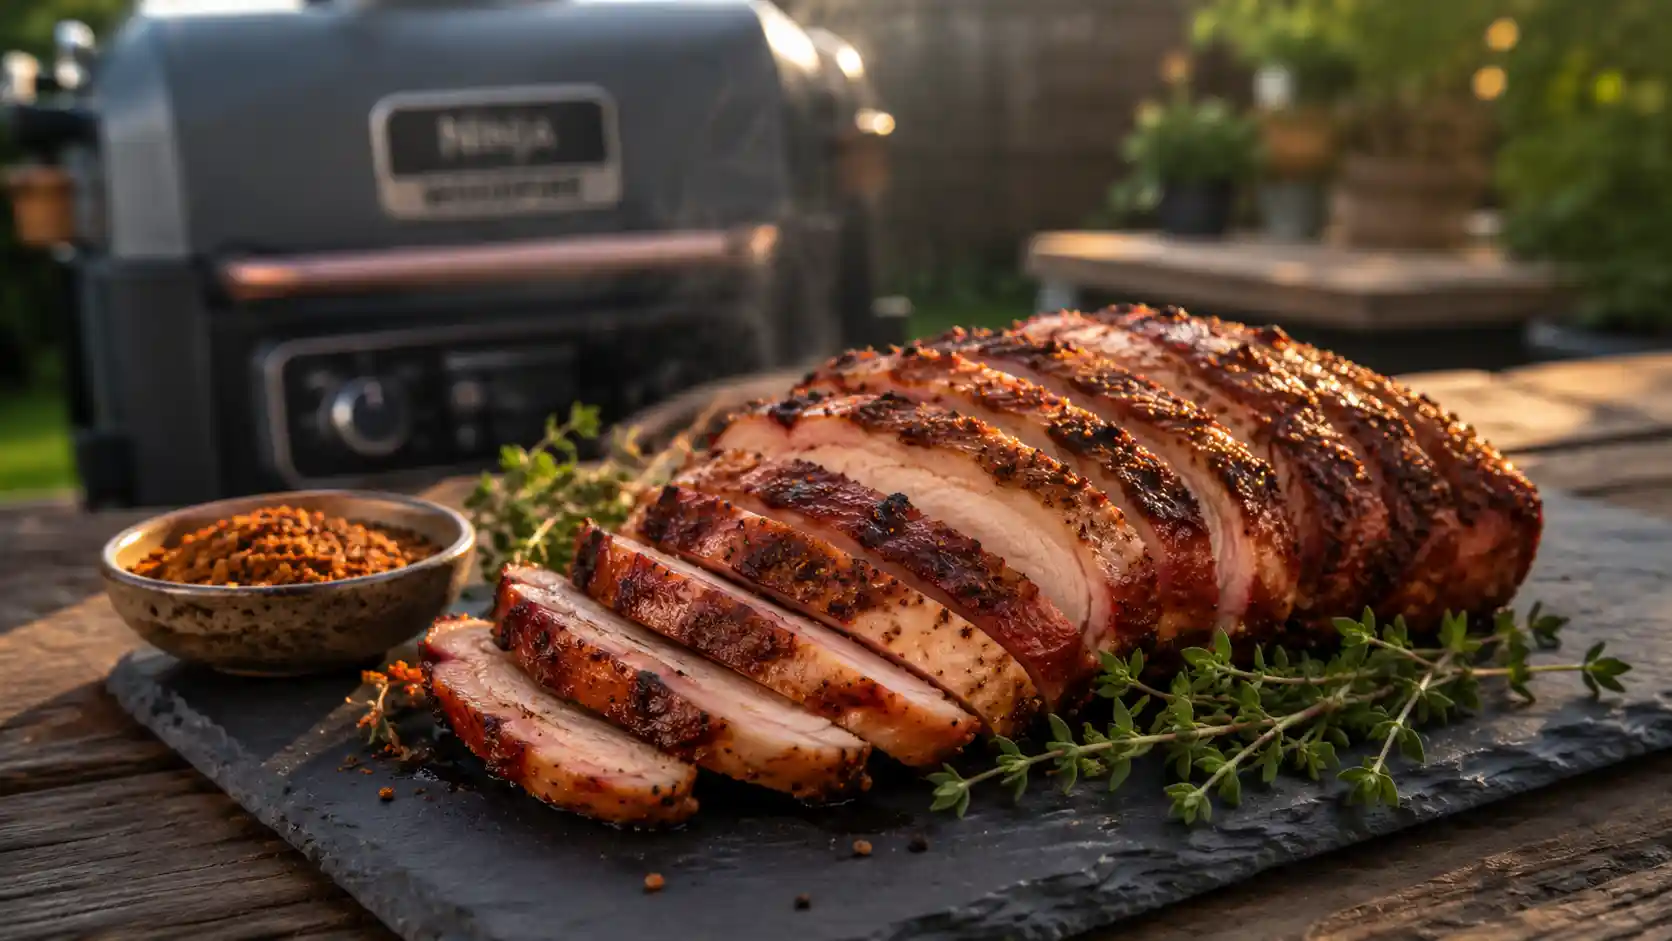
Juicy, smoke-infused chicken breast made on the Ninja Woodfire Outdoor Grill’s Smoker function. A quick brine and a steady 375°F smoke give you tender chicken with real woodfire flavor in about 40 minutes total.
Ingredients
Equipment
Method
- Dissolve 3 tablespoons kosher salt in 4 cups cold water. Submerge the chicken breasts and brine in the fridge for 20-30 minutes.
- Remove chicken from the brine and pat completely dry with paper towels.
- Rub chicken all over with olive oil, then coat evenly with the combined paprika, garlic powder, onion powder, black pepper, thyme, and salt. Let sit at room temperature for 10 minutes.
- Fill the smoke box with ½ cup Ninja Woodfire pellets. Set the grill to the Smoker function, temperature to 375°F, and time to 30 minutes.
- Place chicken breasts on the grill grate with space between each piece. Insert a probe thermometer into the thickest breast, if using, and close the hood.
- Smoke for 20-30 minutes, until the internal temperature reaches 165°F.
- Remove from the grill and rest for 5 minutes before slicing and serving.
Video
Notes
Leftovers keep in an airtight container in the fridge for up to 4 days; reheat gently in a covered skillet with a splash of water or broth to avoid drying the chicken out further. For freezing, slice and store in a freezer-safe bag for up to 2 months, then thaw overnight in the fridge before reheating. This recipe is naturally gluten-free and dairy-free as written. See the Smoker vs. Grill comparison above if you’d rather use the faster Grill function instead.
Frequently Asked Questions
How long does it take to cook chicken breast on a Ninja Woodfire Grill?
On the Smoker function at 375°F, boneless chicken breasts typically take 20-30 minutes depending on thickness, while the Grill function on high generally takes 10-14 minutes total (about 5-7 minutes per side). Always confirm doneness with a thermometer rather than relying on time alone, since thickness varies a lot between breasts.
What temperature should chicken breast be cooked to on the Woodfire Grill?
Pull the chicken at 165°F internal temperature in the thickest part, which is the standard safe temperature for poultry. Because the Woodfire Grill’s convection fan creates some carryover cooking, pulling right at 165°F rather than well past it helps avoid overcooking.
Do I need to flip the chicken breast while it smokes?
No flipping is required on the Smoker function, since the built-in convection fan circulates hot air and smoke around the food from all sides. If you’re using the Grill function instead, you will want to flip partway through for even browning and grill marks.
How many pellets do I need for chicken breast?
About ½ cup of pellets is enough for a full smoke cycle on chicken breast, since the pellets are used purely for flavor rather than as a fuel source — the grill’s electric heating element handles all the actual cooking heat.
Can I cook frozen chicken breast on the Ninja Woodfire Grill?
It’s best to thaw chicken breast fully before cooking for the most even results and accurate temperature readings. Cooking from frozen makes it much harder to hit a safe internal temperature in the center before the outside overcooks.
What’s the difference between using the Grill function and the Smoker function for chicken breast?
The Grill function runs hotter for a shorter time and gives you visible sear marks similar to a traditional grill, while the Smoker function runs cooler for longer and gives the wood pellets more time to actually flavor the meat. For deep woodfire taste specifically, the Smoker function is the better choice for a cut as thin as chicken breast.
How do I store and reheat leftover smoked chicken breast?
Store cooled chicken in an airtight container in the fridge for up to 4 days. Reheat gently, ideally in a covered skillet over low heat with a splash of broth or water, since high, dry reheat methods like a bare microwave tend to toughen already-cooked chicken breast further.
Is this recipe gluten-free or dairy-free?
Yes, as written this recipe contains no gluten or dairy ingredients, since it’s built from chicken, salt, oil, and dried spices. Just double check any store-bought rub you substitute in, since some blends include anti-caking agents or fillers that aren’t always gluten-free.